TAP 10 LUTHIER KIT
The perfect vacuum press for laminating the sides of acoustic guitars and other longer guitar elements.
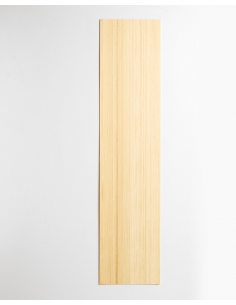
The 10.5 x 40" Thin Air Press Kit fits long rectangular luthier projects.
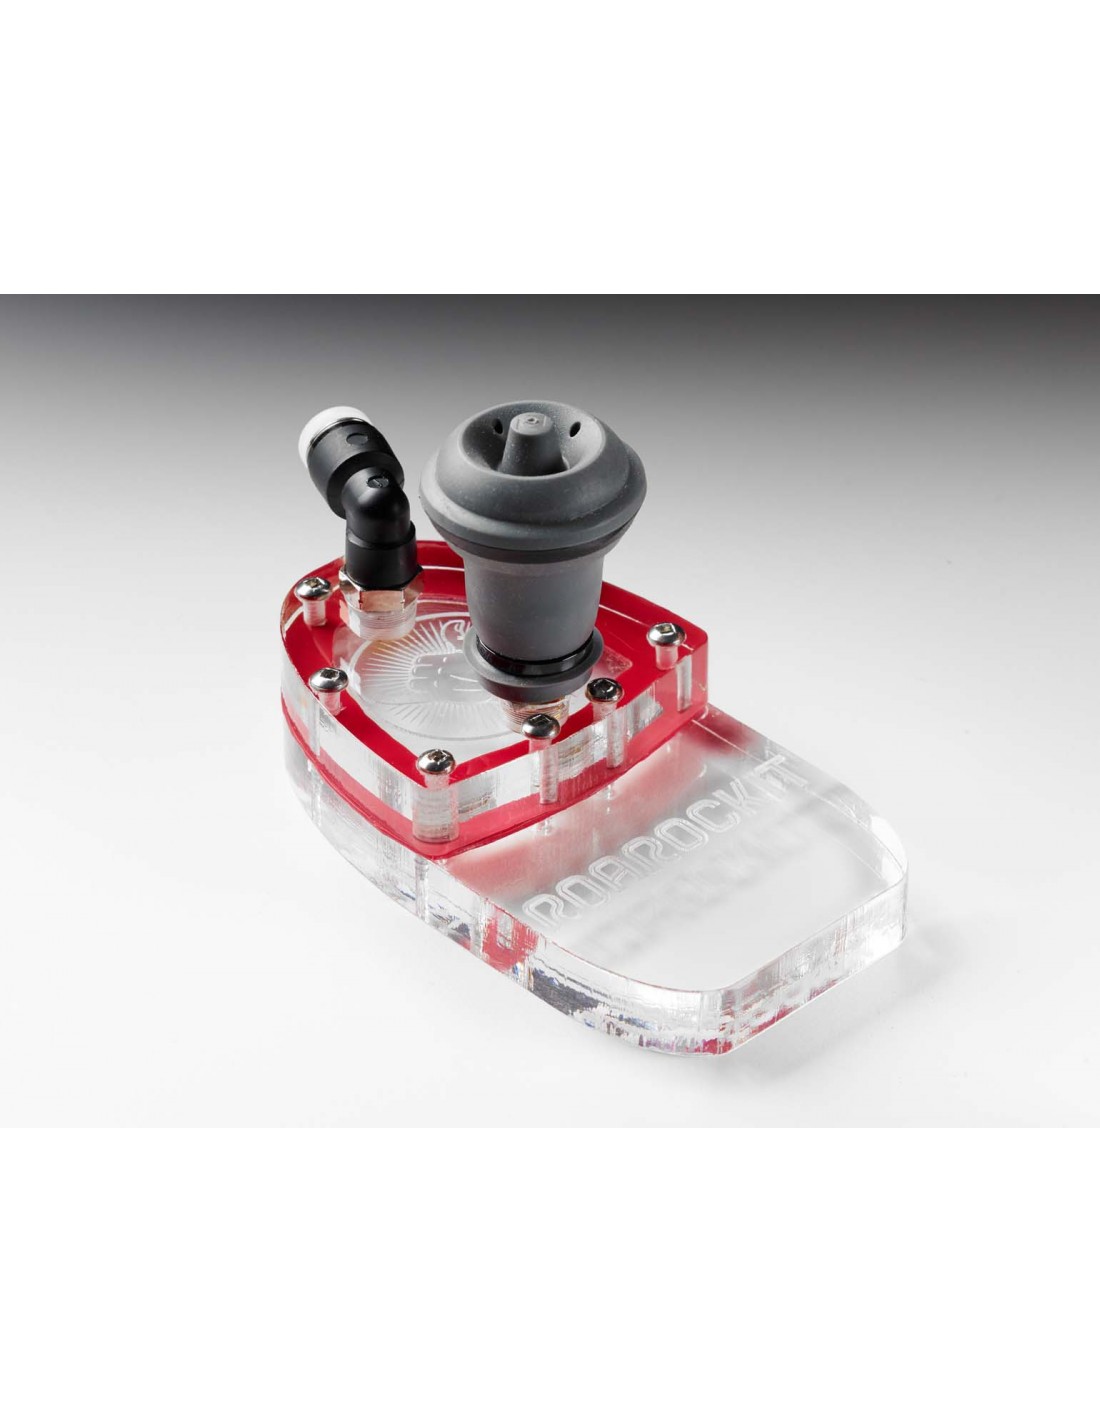
Fitted with a Quick-Lock connector, this bag connects with the TUG External valve.
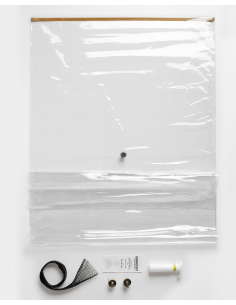
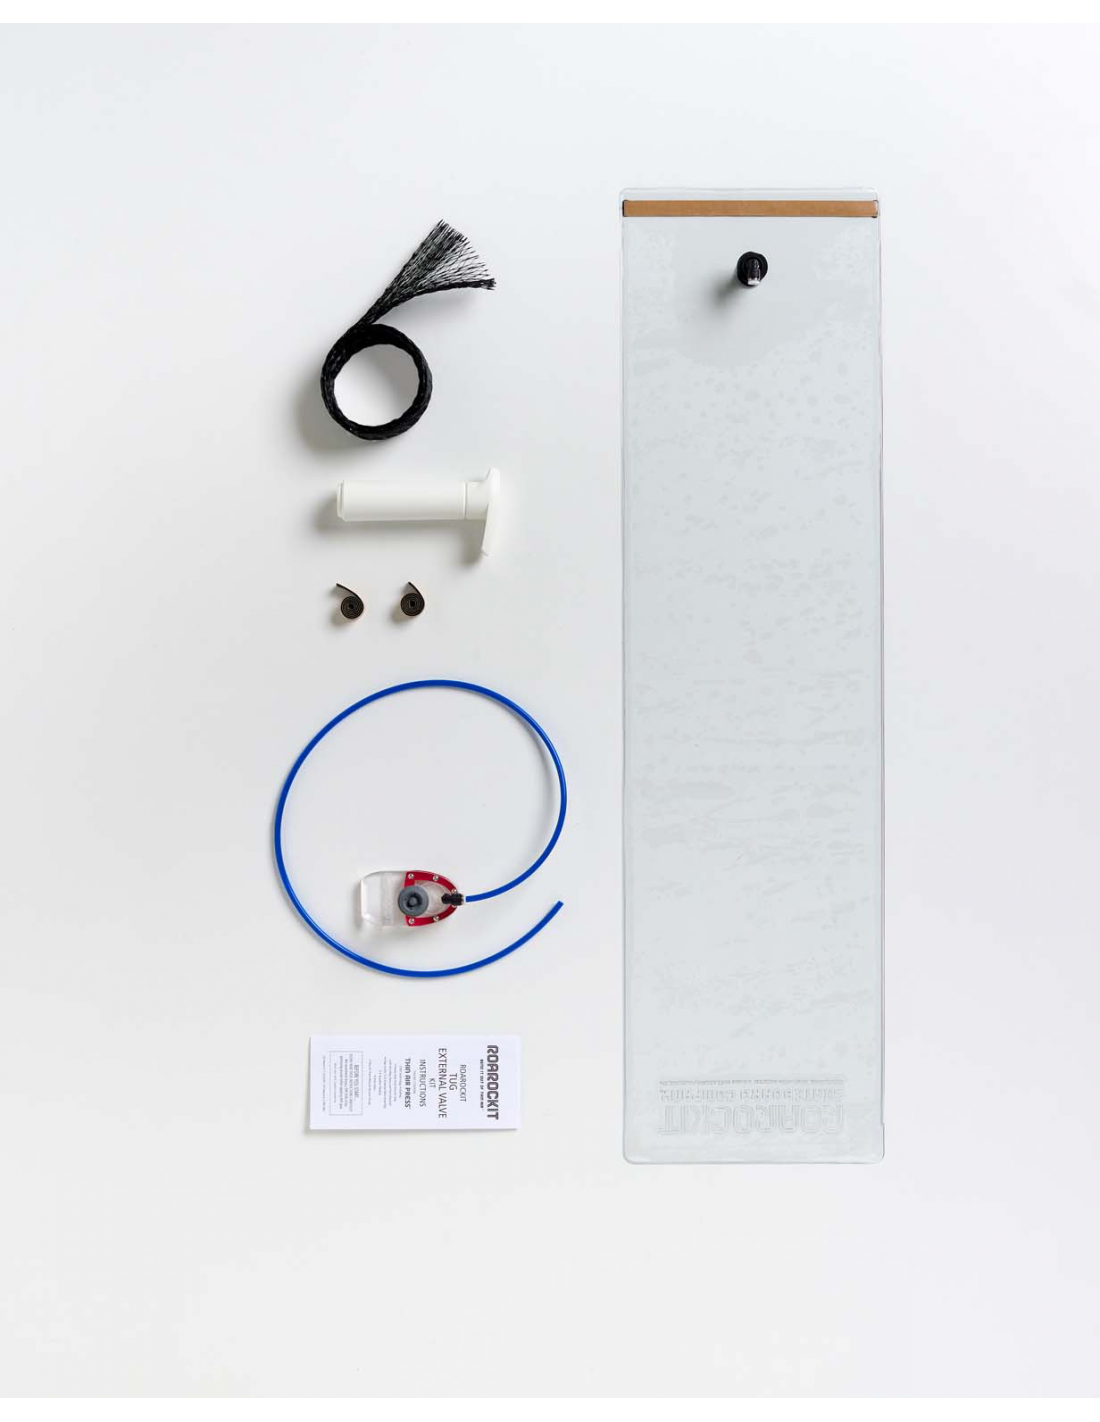
Contains:
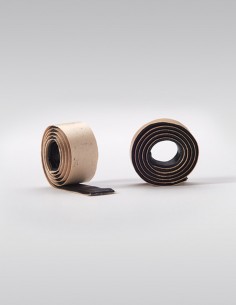
- 10.5 x 40" (26,67 cm x 101,6 cm) Luthier Thin Air Press
- Fitted with a Quick-Lock connector
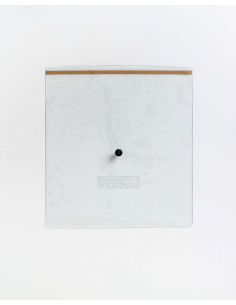
- A TUG External valve
- Thin Air Press accessories
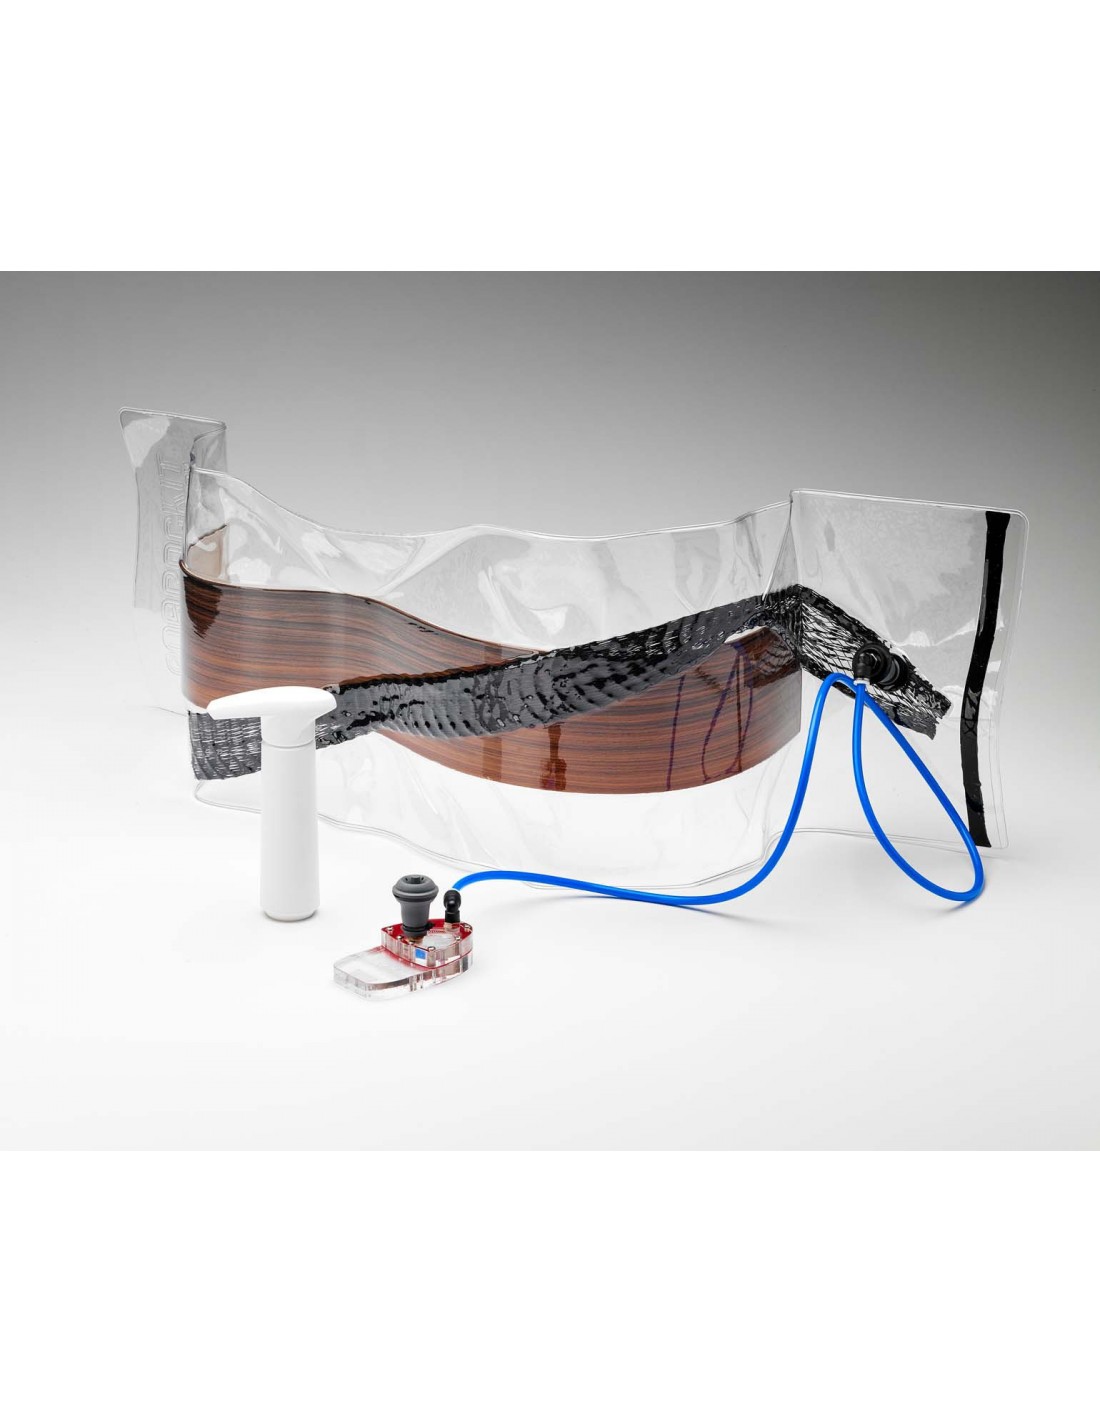
How to use this product :
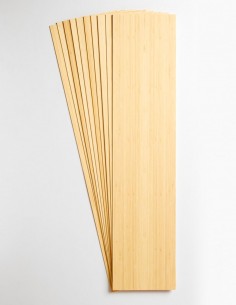
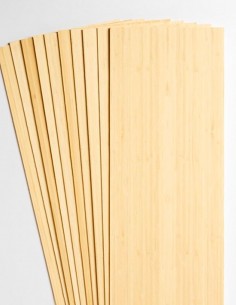
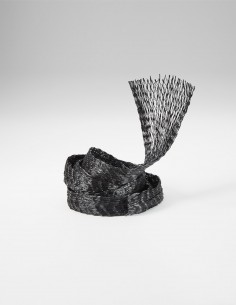
- Insert your glued veneers into the vinyl vacuum bag, position the breather netting and seal the bag
- Connect the 1/4" tubing to both Quick-Lock connectors (on the bag and the TUG External valve)
- Place the manual pump onto the grey valve and pump the air out
Before you glue up your veneers, a dry run is highly recommended! |
FAQ :
Where do I find out how to bend single sheets of veneer ?
Check out this link to see how Behrad does his technique.
Is this reusable, and for how many times?
The kits are designed to be used many many times. With a little care and maintenance, the TAP Kits will last for years.
Will the glue stick to the bag?
PVA glue and epoxy will not stick to the bag. Any dried glue can be loosened with fingers and either shaken or blown out with a shop vac. Do not use polyurethane glue as it will damage the vinyl and ruin the bag.
How many pieces can I press at once?
You are limited by how fast your glue dries. If using slow-set epoxy, you have a generous amount of time to work before it starts to set. If using water-based glue such as Titebond III, you have about 7 minutes to get your project pressed before the glue dries. Dry glue will not bond together.
If the TAP Bag gets a hole in it, can I fix it?
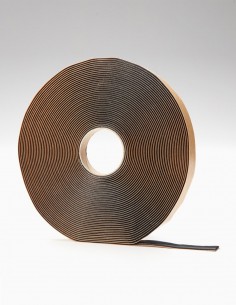
Clear 2” packing tape seals up any suspected punctures. Use a length of the butyl tape to fix any side seam gaps or splits. See instructions for further details.
What’s a “Dry Run” and why should I do that?
It means to press your project in the TAP bag, without putting any glue on the veneer sheets. Stack the dry sheets of veneer over the mold, seal them into the press with the breather netting in place, and pump the air out. Check for 10 minutes to make sure the TAP bag is not leaking. This will help you become familiar with the process before you commit glue to your veneer sheets.
|


