Handmade Deck
This tutorial shows how to design templates and use hand tools to shape a foam mold for building a skateboard deck in the Roarockit Thin Air Press.
I developed the one-sided foam mold in 2001 as part of the original Roarockit skateboard deck making kits. I needed to find a lightweight mold for shipping, and through experimenting, found styrofoam to be an effective mold material in a number of ways. Affordable, easy to shape, and didn’t crush while being pressed in our Thin Air Press vacuum bags. Early in 2003 I shared this idea in postings onSilverfishlongboarding.com and NCDSA and now deck builders world-wide use the foam mold process for building their custom decks!
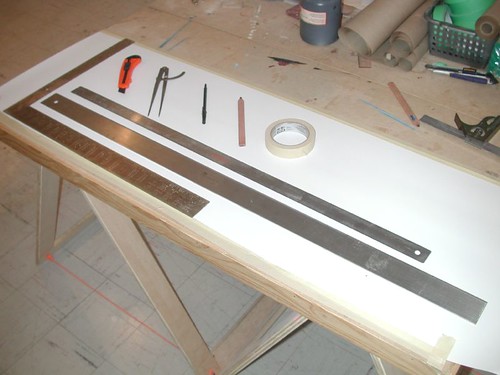
Tools needed for desiging and making templates:
– Rulers and straight edges
– Pencil, pen and marker
– Scribe or flexible ruler
– Utility knife with long blade
– Masking tape
What you will need
Materials Needed:
– Styrofoam sheet 2″ thick
– Roll paper 12″ wide
– Styrene sheet or Bristol board
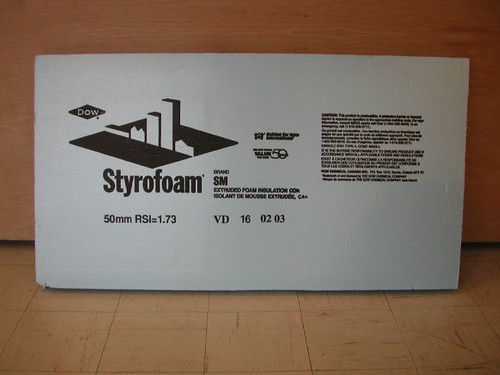
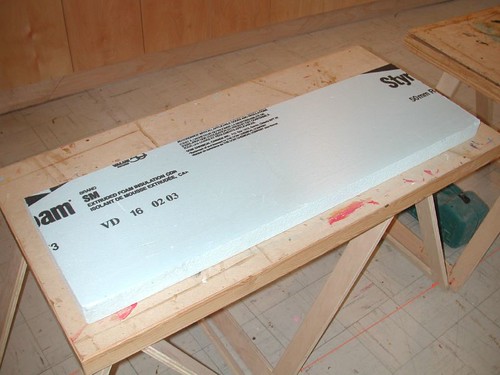
Here is a typical sheet of insulation styrofoam, it comes in pink or blue depending on the manufacturer. The usual size is 8′ long by 24″ wide and 2″ thick. There are different R ratings you can get, the higher the R rating the denser the material. The best for deckmaking is an R rating of 9 or 10. This will have a 25 psi compression strength rating. A vacuum bag creates about 14 to 15 psi, making this type of foam an ideal choice.
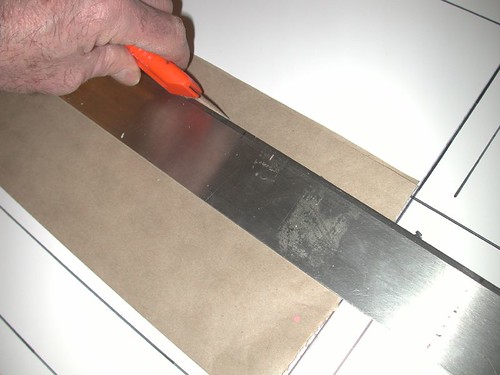
You will need to cut your material to the width + 1/2″ of the length and width of your deck. Use the utility knife with a long blade to do this. It is important to make your cuts as square and straight as possible. If you make your cuts in three strokes through the material you will find the cut much more precise than if you try to cut through the thick material all at once.
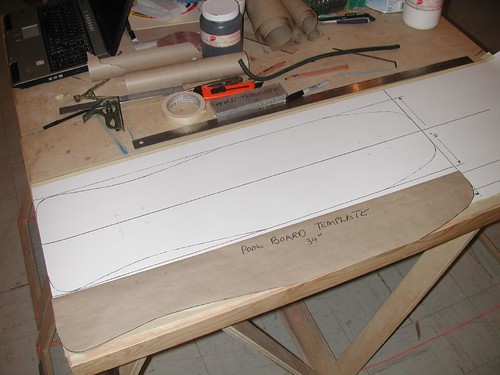
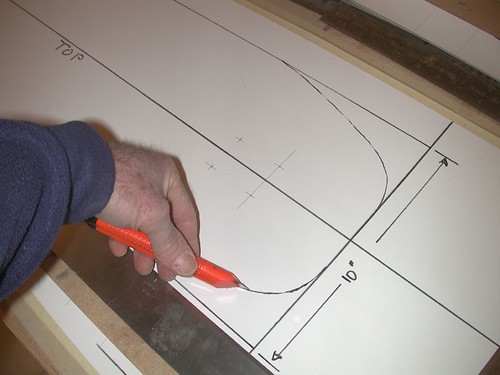
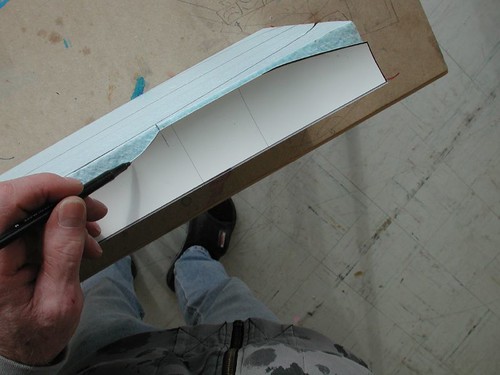
Take your sheet of Bristol board or styrene and tape it to a flat table. Mark a centerline on the sheet then draw the top and side profile as rectangles of the length and width of your deck as shown below. The side rectangle will be 2″ thick to match your styrofoam.

Cut a length of paper the size of your deck.
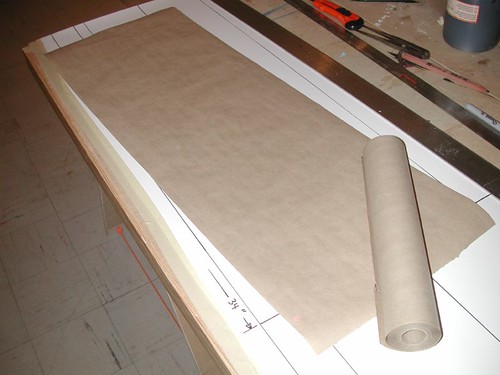
Fold the sheet in half lengthwise.

Cut the folded sheet of paper to the width of the deck you want to build.
Using a set of trucks as a guide, mark on your styrene template where you want the truck holes to be drilled.

Lay your folded paper template on top of the styrene template’s center line and mark the location of the truck holes by transfering the lines from the styrene to the paper. Then use a punch to penetrate through the paper template.
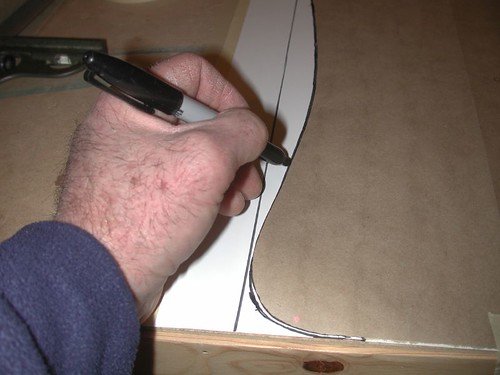
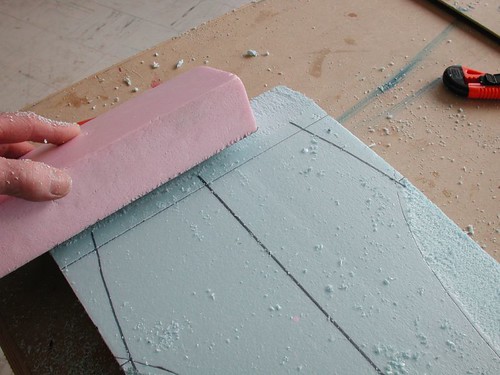
Using the flexible ruler, design the top shape of your deck onto the paper. You only need to do one side of your shape.
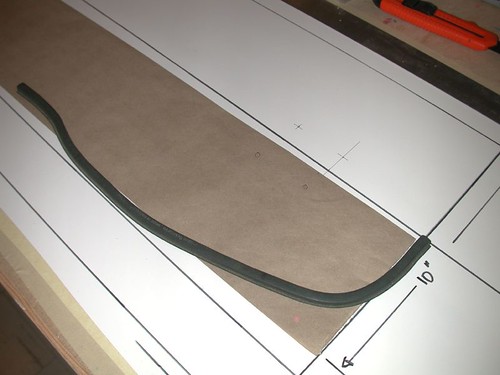
Here you can see my designed shape. This step may take some time to do. You want to end up with one clean line.
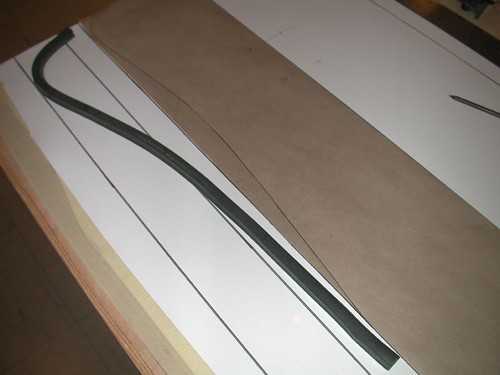
Using a sharp blade, cut out the paper top shape of your deck, being as accurate as possible.

Here is what you should end up with when you open up your folded template.
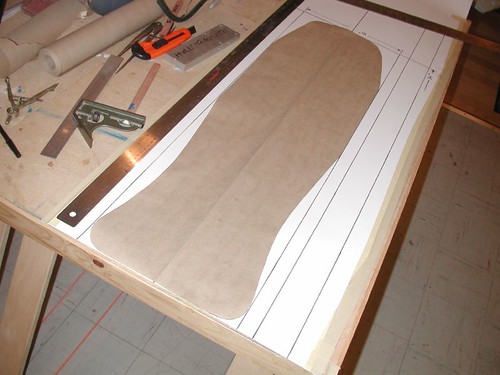
Place the paper template onto your styrene template and trace the outline of your deck. I use a marker to do this.
Your template should look like.
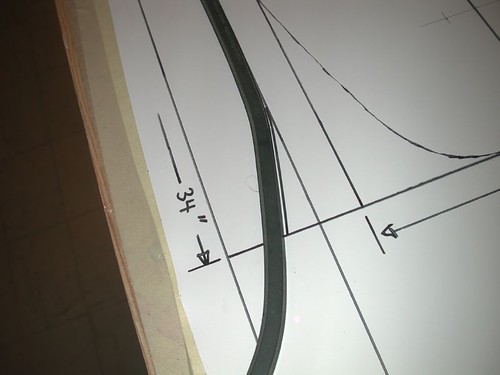
Next, design the side profile template onto the styrene. You can see I have marked off the front lip of my deck. Remember the deck will be built face (top) down on the mold.
You do not want to curve the front of your deck past where the trucks will be mounted. Wood veneers only bend in one direction at a time. One curve must end before the other curve starts. (ie look at a street deck, the concave ends before the nose and tail bends up)
You can see the nose and tail design on the profile drawing and how they line up with the top drawing of my deck shape.

Using the utility knife, cut out your side deck styrene template.

Also cut out your top template. Be very accurate cutting these.
Now go back to your folded paper template and use a long bendable ruler to draw the concave area for your deck. You may need an extra pair of hands to hold the ruler while you draw the line. Remember that the concave cannot extend into the area where your nose and tail curves are.

Cut this from only one side of your paper template as shown.

Here is what you should end up with:
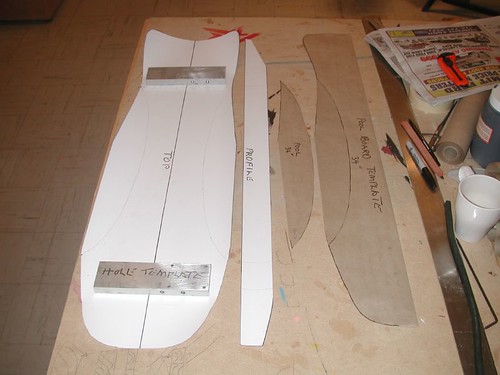
– a top template in styrene
– a side profile template in styrene
– a top template in paper
– a cutout of the concave from the top paper template
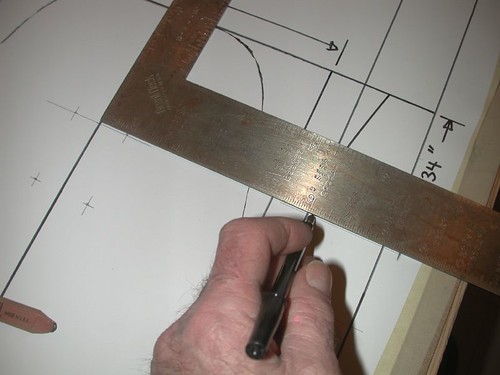
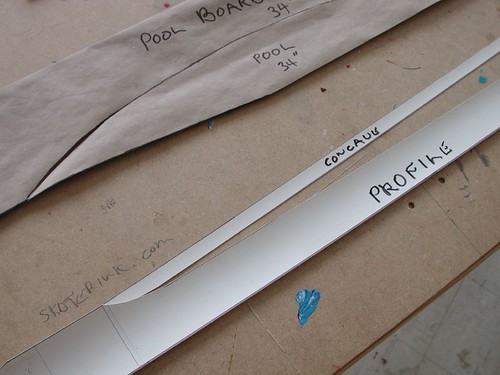
The next step is to cut out the profile of the concave from the side template. It must be the same length as the top concave template. I would not make it any deeper than 1/2″.

Cut out this piece from your styrene template as shown.
Here are all the template pieces you will need to start shaping your foam mold.

Transfering template shapes to the foam
Measure and cut your styrofoam material to the length and width of your deck. Use a utility knife with a long blade and a straight edge to do this. It is important to make your cuts as square and straight as possible. If you make your cuts in three strokes through the material, you will find the cut much more precise than if you try to cut through the thick material all at once.
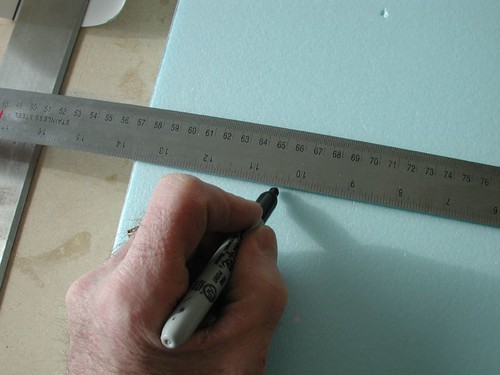
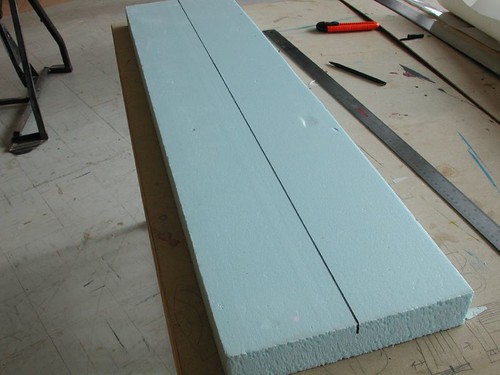
Mark the center line along the length of the foam with a black marker.
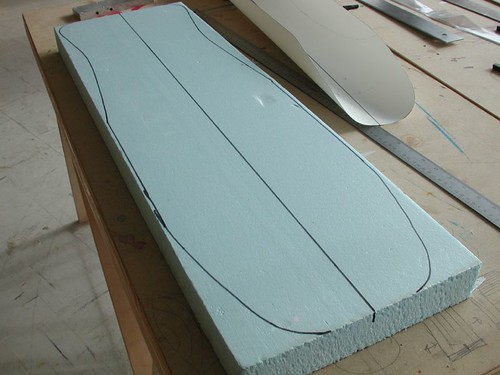
Using your styrene template, trace the top profile onto the foam.
The next steps show how to mark the top and side concaves onto the foam.
From your folded paper concave top template (I happen to have drawn this on my styrene) draw short lines to the egde of the foam showing the start and end of the curve. Mirror this on both sides of your foam.

Extend those lines down the side edge of your foam using a square.
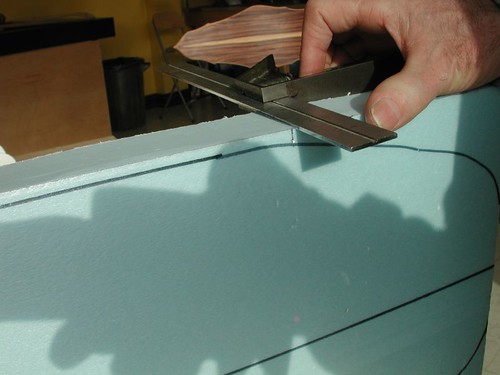
Align the styrene side profile template onto your foam edge and trace the profile onto the foam.
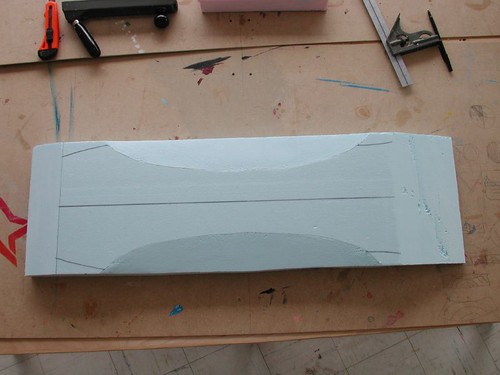
Do the same with the top styrene concave template. It should look like this. Do these steps to both sides of your foam.
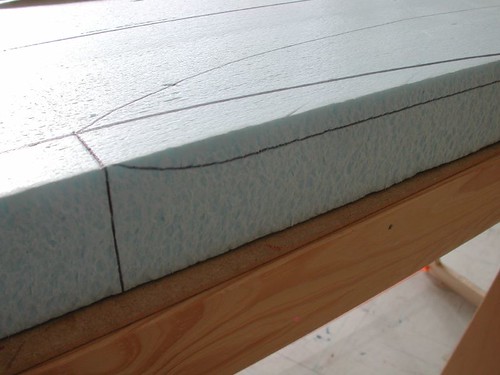
Draw lines acoss the foam for the nose and tail. Your lines should look like this:
Shaping the foam mold
Here are the tools you need:
– Utility knife with a sharp long blade
– Some sort of a saw. I used a Japanese saw, but a regular saw will do.
– Rasp or a surform
– Foam sanding block – cut this from a block of foam. Make it wider than the width of the deck, and glue 100 grit sandpaper or stick grip tape to one side
– pencil or black marker
– A straight edge like a combination square or 12″ ruler

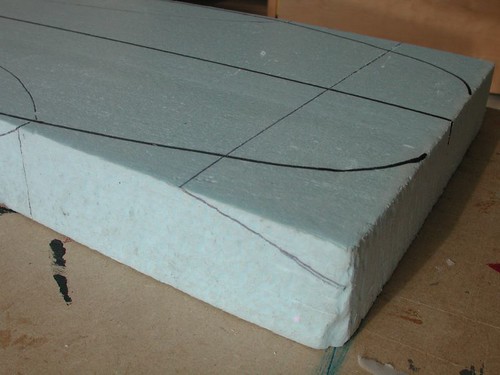
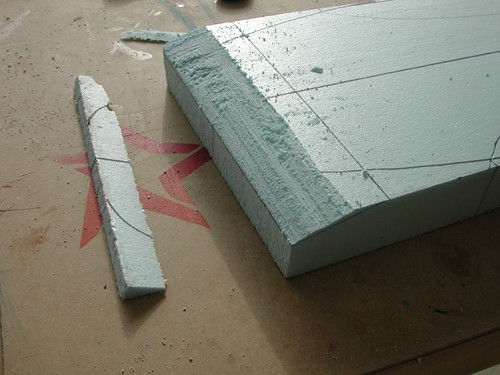
Set the blade of the utility knife just above the depth of the side profile line and make a series of cuts across the foam, about 1″ apart.
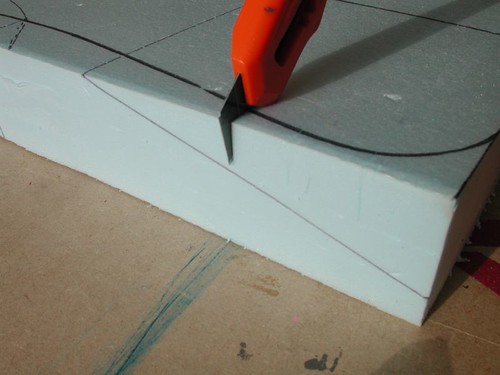
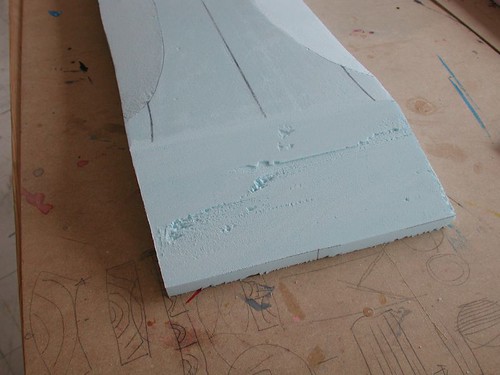
You can see the cuts I made on the tail of the deck in this photo. Make sure you do not cut below the profile line. Using a saw cut above the profile line as shown. If you don’t have a saw, the utility knife blade will work as well, turned on it’s edge.
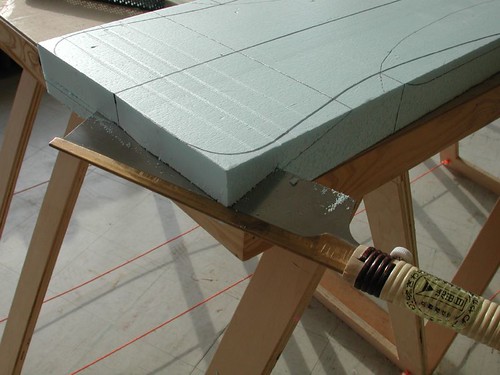
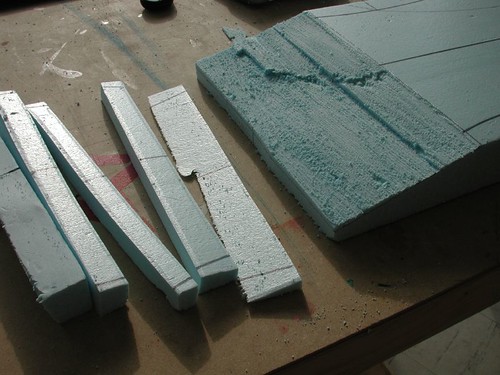
Remove the excess pieces of foam.
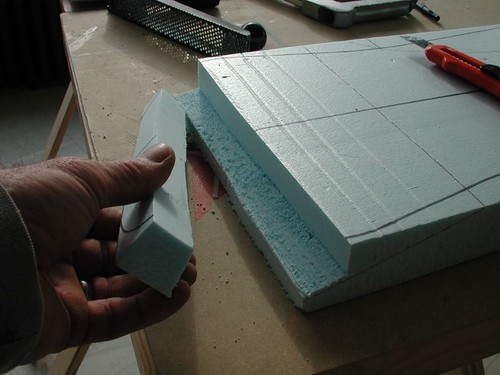
A little messy looking but don’t worry, you will be smoothing this out with the sanding block.
Repeat this step to the nose of your mold.
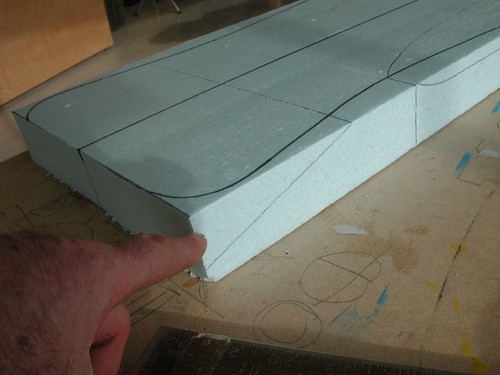
Using the surform, begin to shape the concave into the foam. Be careful not to shape past the concave lines you have drawn.
Important: Keep this profile FLAT between the two lines. Vacuum veneering works best when the mold planes are flat. A progressive curve is much harder for the vacuum process to bend veneer over.
Because the deck is inset into the foam about 1″, you will have to extend the top line to the edge to make an even curve. Feather the edge with the surform.
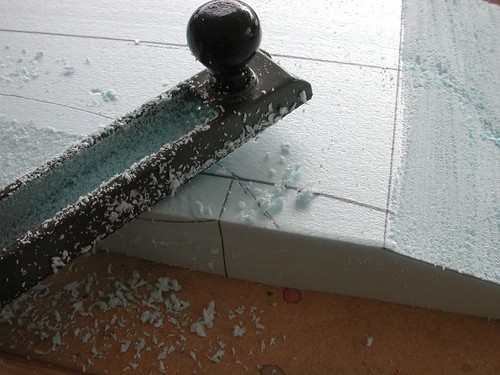
Here is what it should look like when finished. Remember to not go past the lines and keep the concave flat and not rounded. Use your straight edge to check this from time to time.

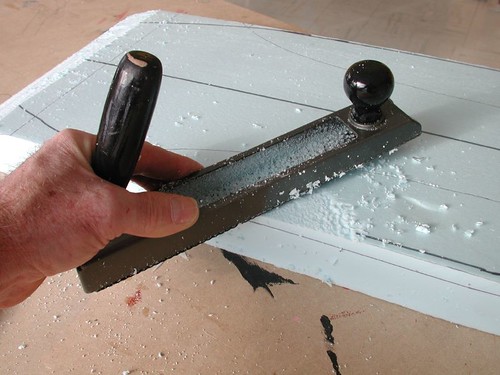
Now it’s time to sand using your flat sanding block.
Sand only cross ways across the mold, (90 degrees to the length of the deck) to keep the planes flat.
Again, do not sand below the template lines on either side of the mold. This will ensure a flat and straight profile.

Remember to check with your straight edge frequently to ensure you are making flat planes.
Finish your surformed concaves by sanding to the line and no more. It is easy to go too far. Both sides of the mold should look the same.

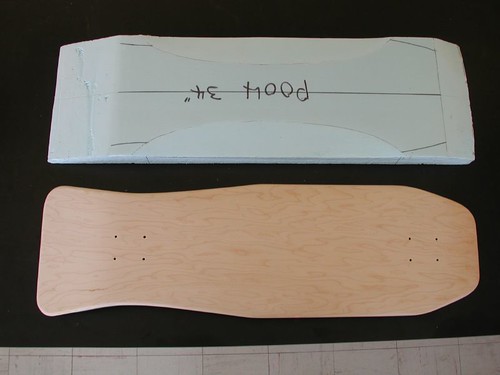
Here is the finished mold with nose, tail and concaves shaped uniformly. You can still see the drawn template lines.
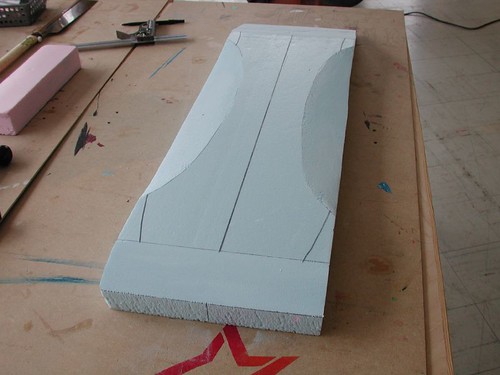
I messed up a little on the tail but the roughness will not affect the finished deck shape.
That’s it for shaping a mold!
These steps apply to almost any deck shape you want to build.
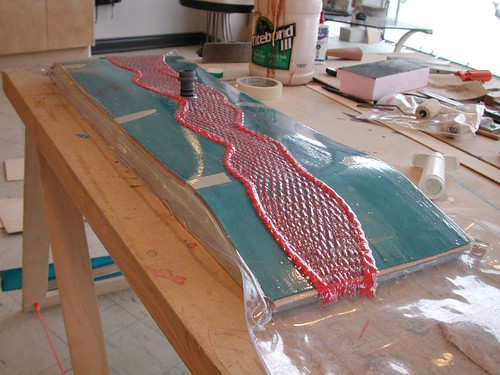
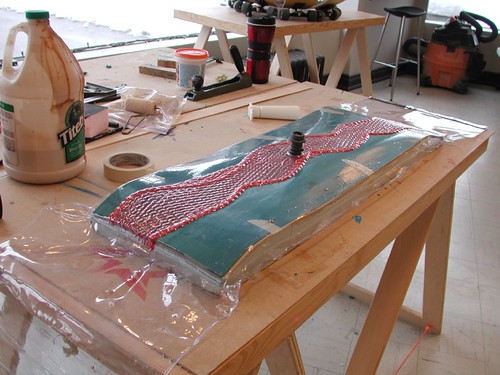
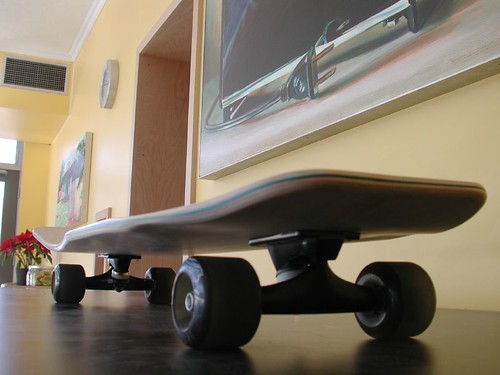
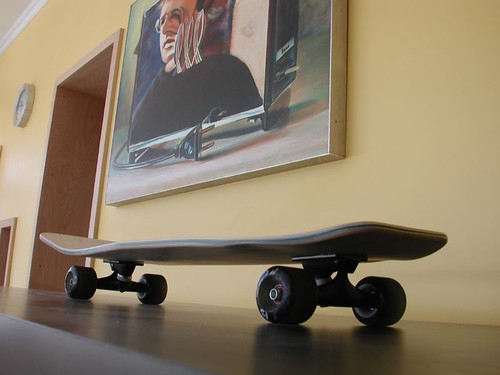
Here are a few pictures of the pressing and of my final deck.
Enjoy!
Ted from Roarockit