1- Can you introduce yourself? What do you do for a living?
My name is Enji Wadel and I am 44 years old. I am currently in ” reconversion ” as they say. Circassian acrobat since I was a kid, I rolled my hump a little bit everywhere with our circus ” La Compagnie Le Filet d’Air ” created with Isa my wife in 1999.
Funambulist, tent erector, Gypsy jazz musician, mechanic sometimes, this job allowed me to touch a little bit of everything and especially to develop the sense of ” bidouille ” when there is a problem… The show must go on !
2- When did you start making skateboards?
Mino I was a real daredevil, everything went bmx, rollerblading, skateboarding… As long as there was big slope, I was up for it !
Then time passed and it was through the wire that I channeled that need for adrenaline.
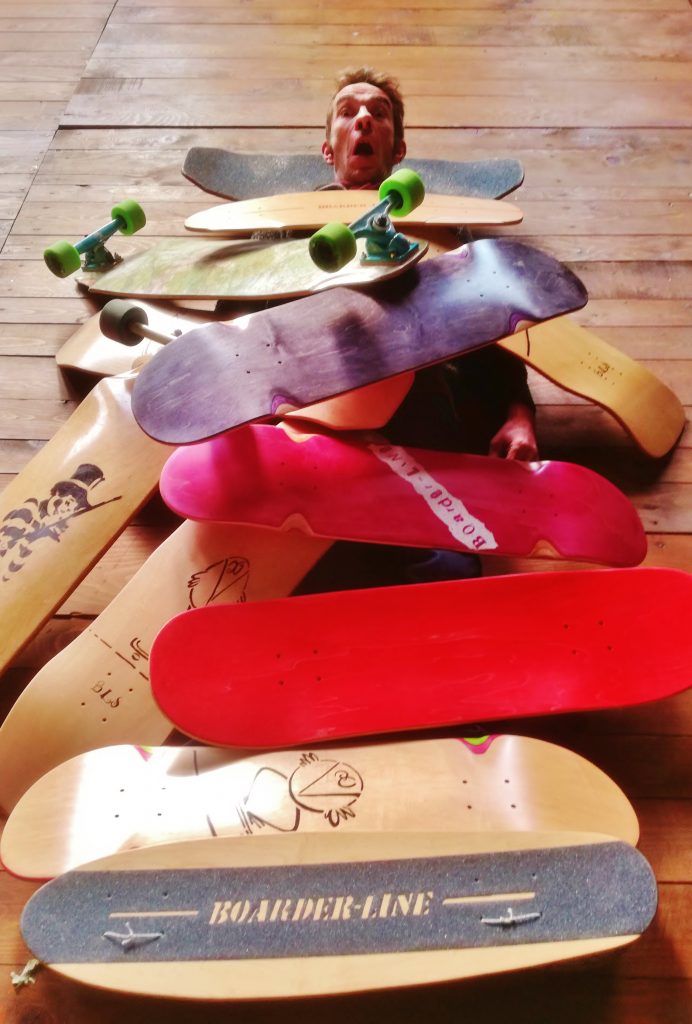
Living in the Alps and tired of the increasingly short snow seasons, we started longboarding with my son Nino.
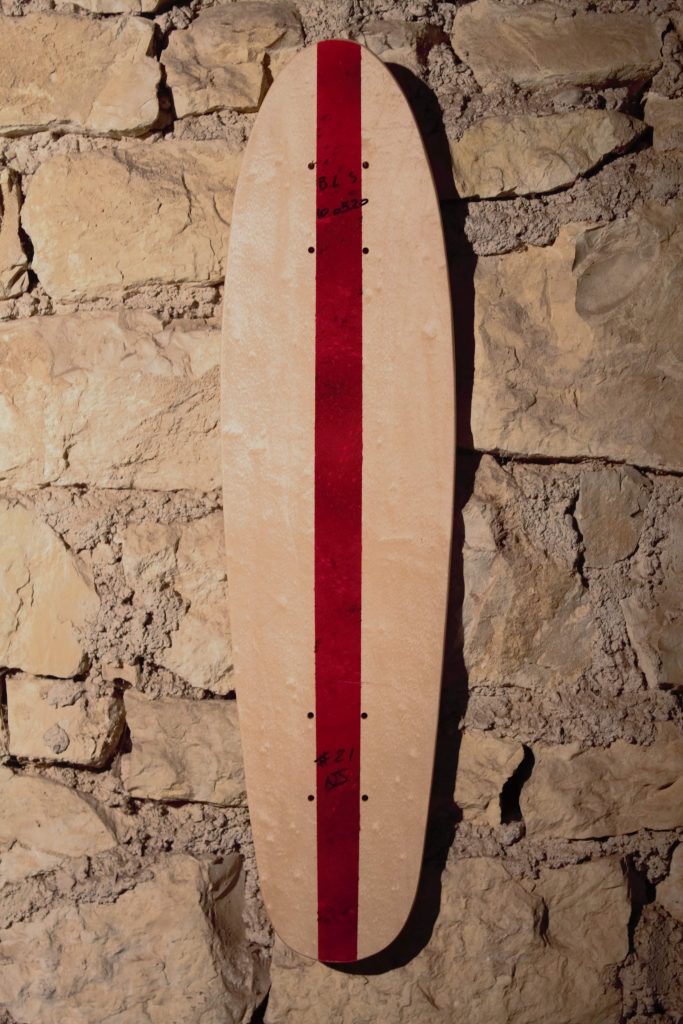
One thing leading to another, we started to tinker with boards, to recover some, to cut CP to test different Shapes …. It was gone, we were taken by the passion of skate !
3- How did you learn to make a skateboard?
It was meeting two years ago with Christophe Stagnetto of Made in Alpes Skateboardthat was a revelation for me.
I hosted him as a stage manager on the festivalFesti’Streetorganized by our Trièves teens and Christophe was demoing Shape with Made in Alpes.
We spent the day chatting about skateboarding, he showed me the TAP, took the time to explain everything.
I’ve never taken an internship or anything, I’m observant and mostly a stubborn !
I search a lot, I make mistakes, beautiful discoveries and little by little I find myself making more and more boards of better quality…. It’s progressing continuously, just don’t let go !
4- What do you make them with?
This happens in three steps:
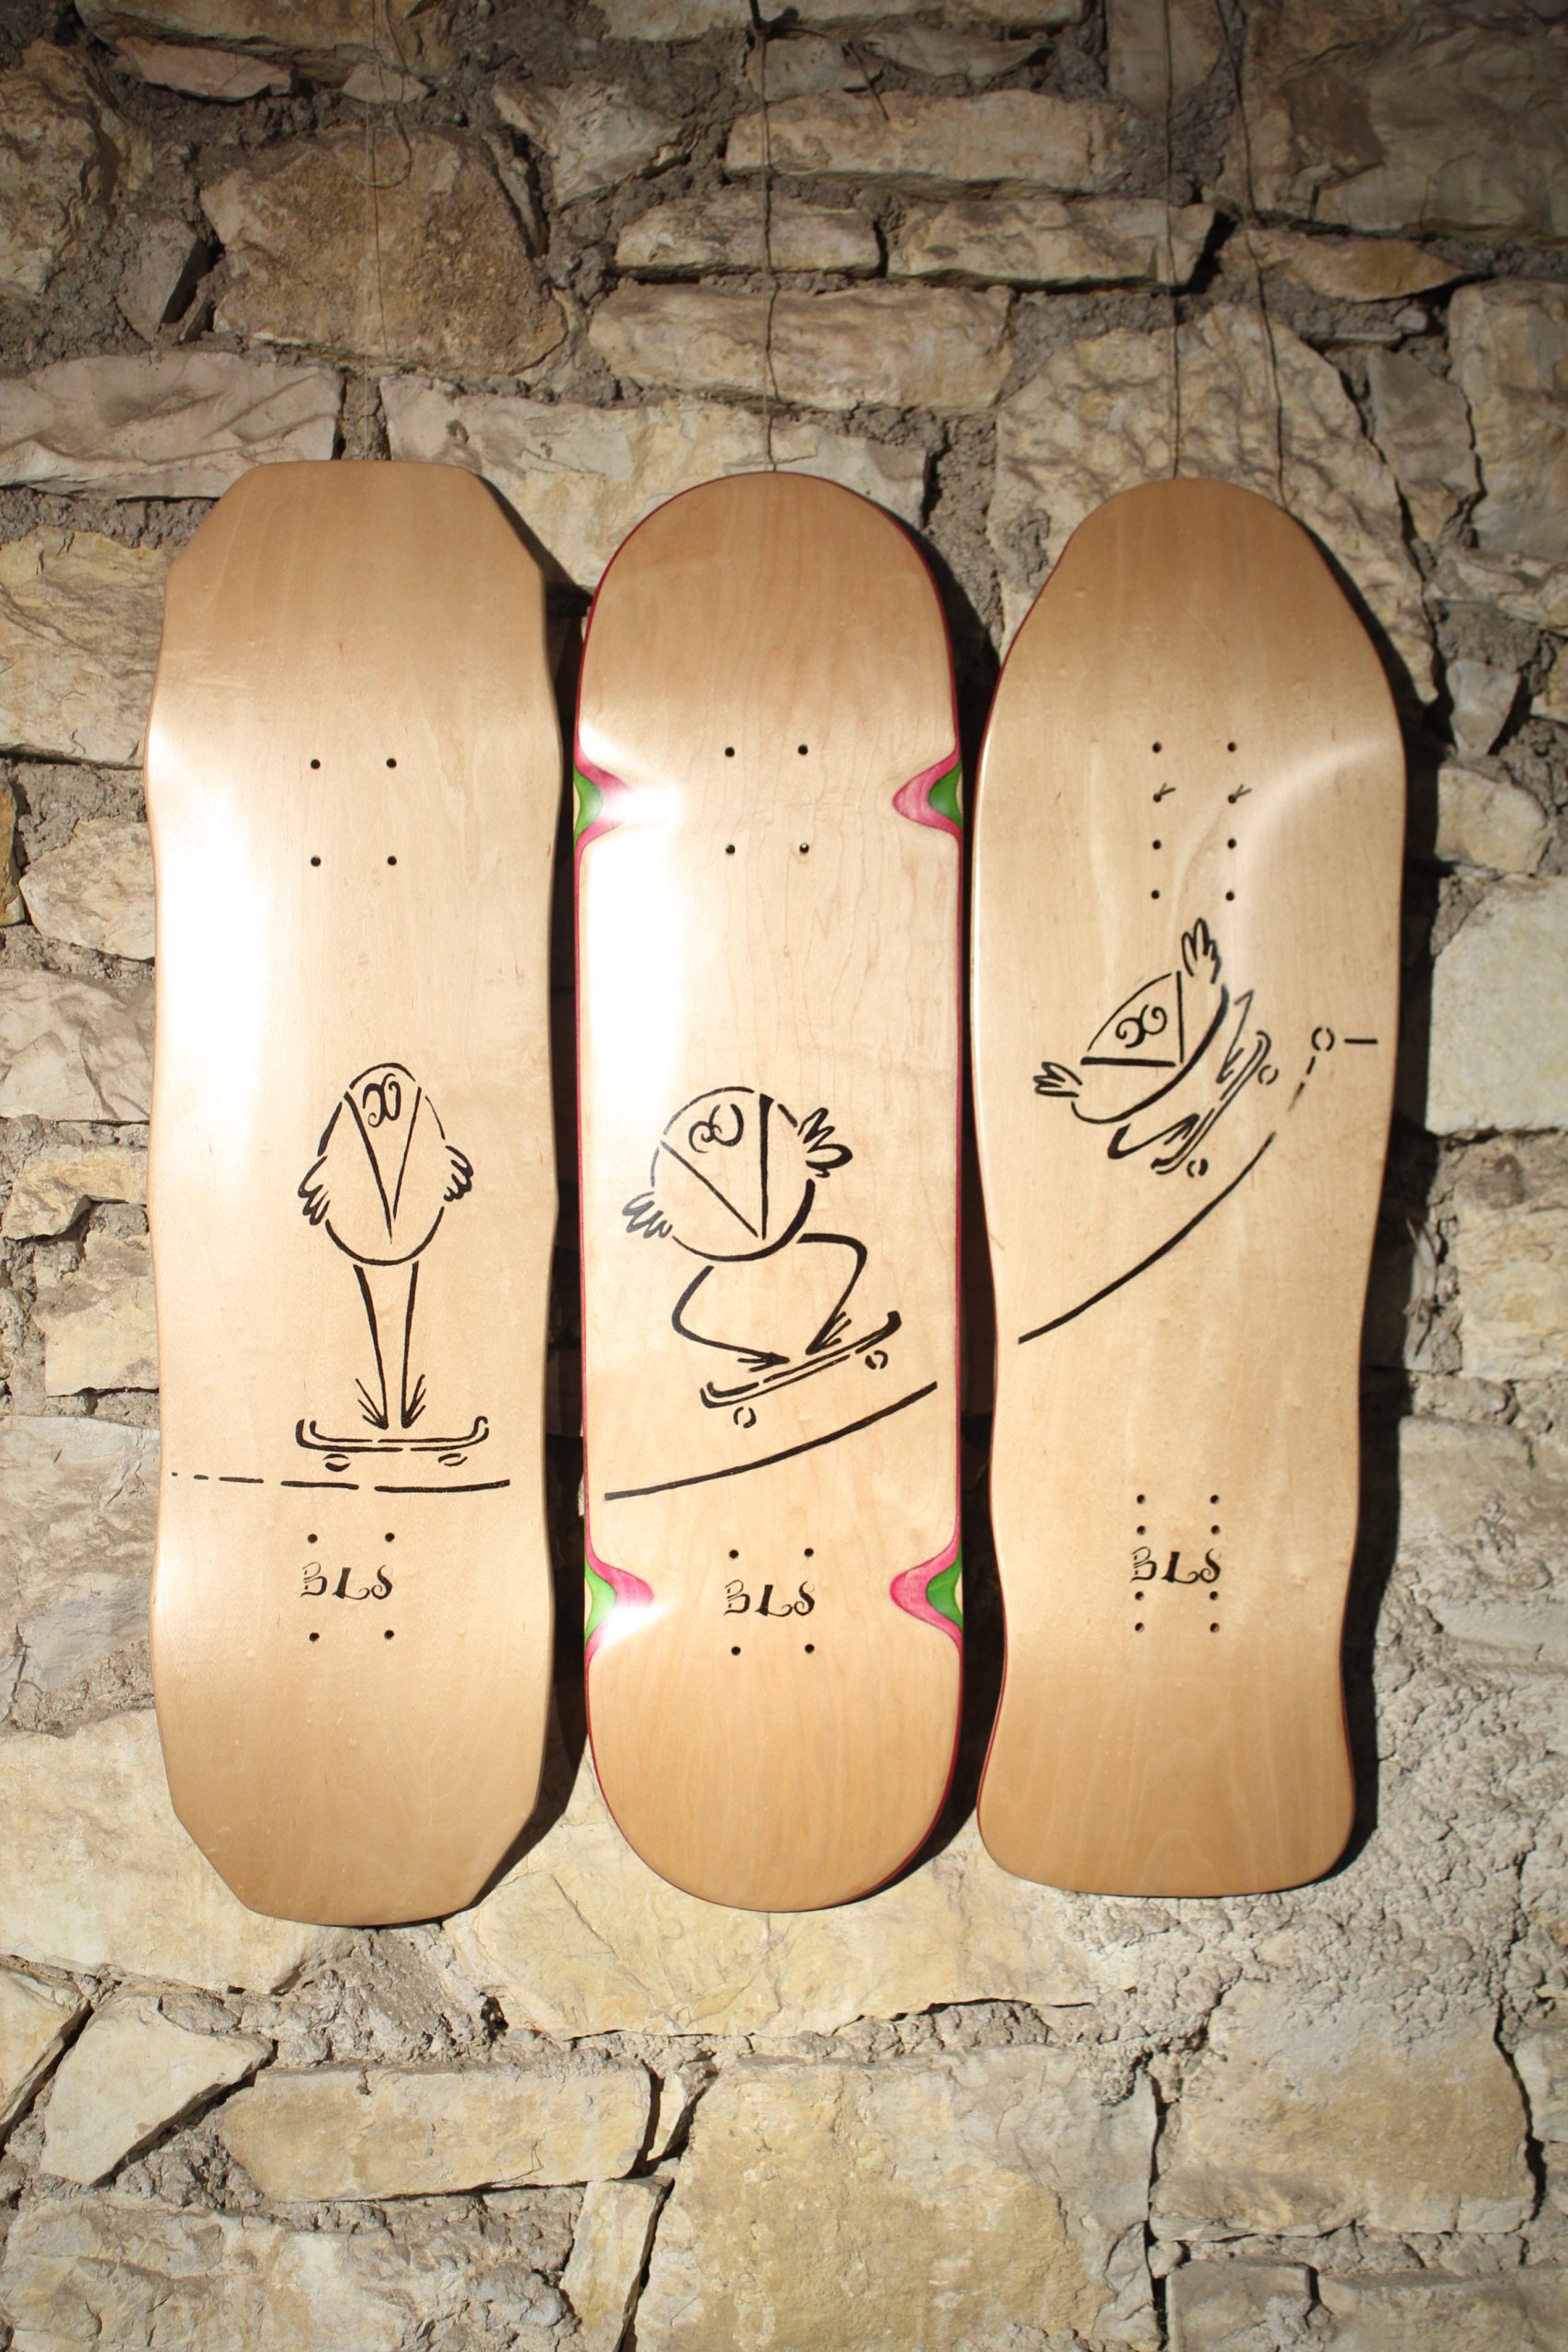
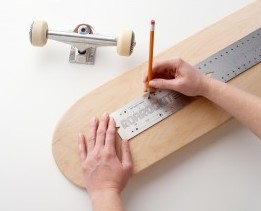
1 – Designing a prototype with the TAP technique and polystyrene mold.
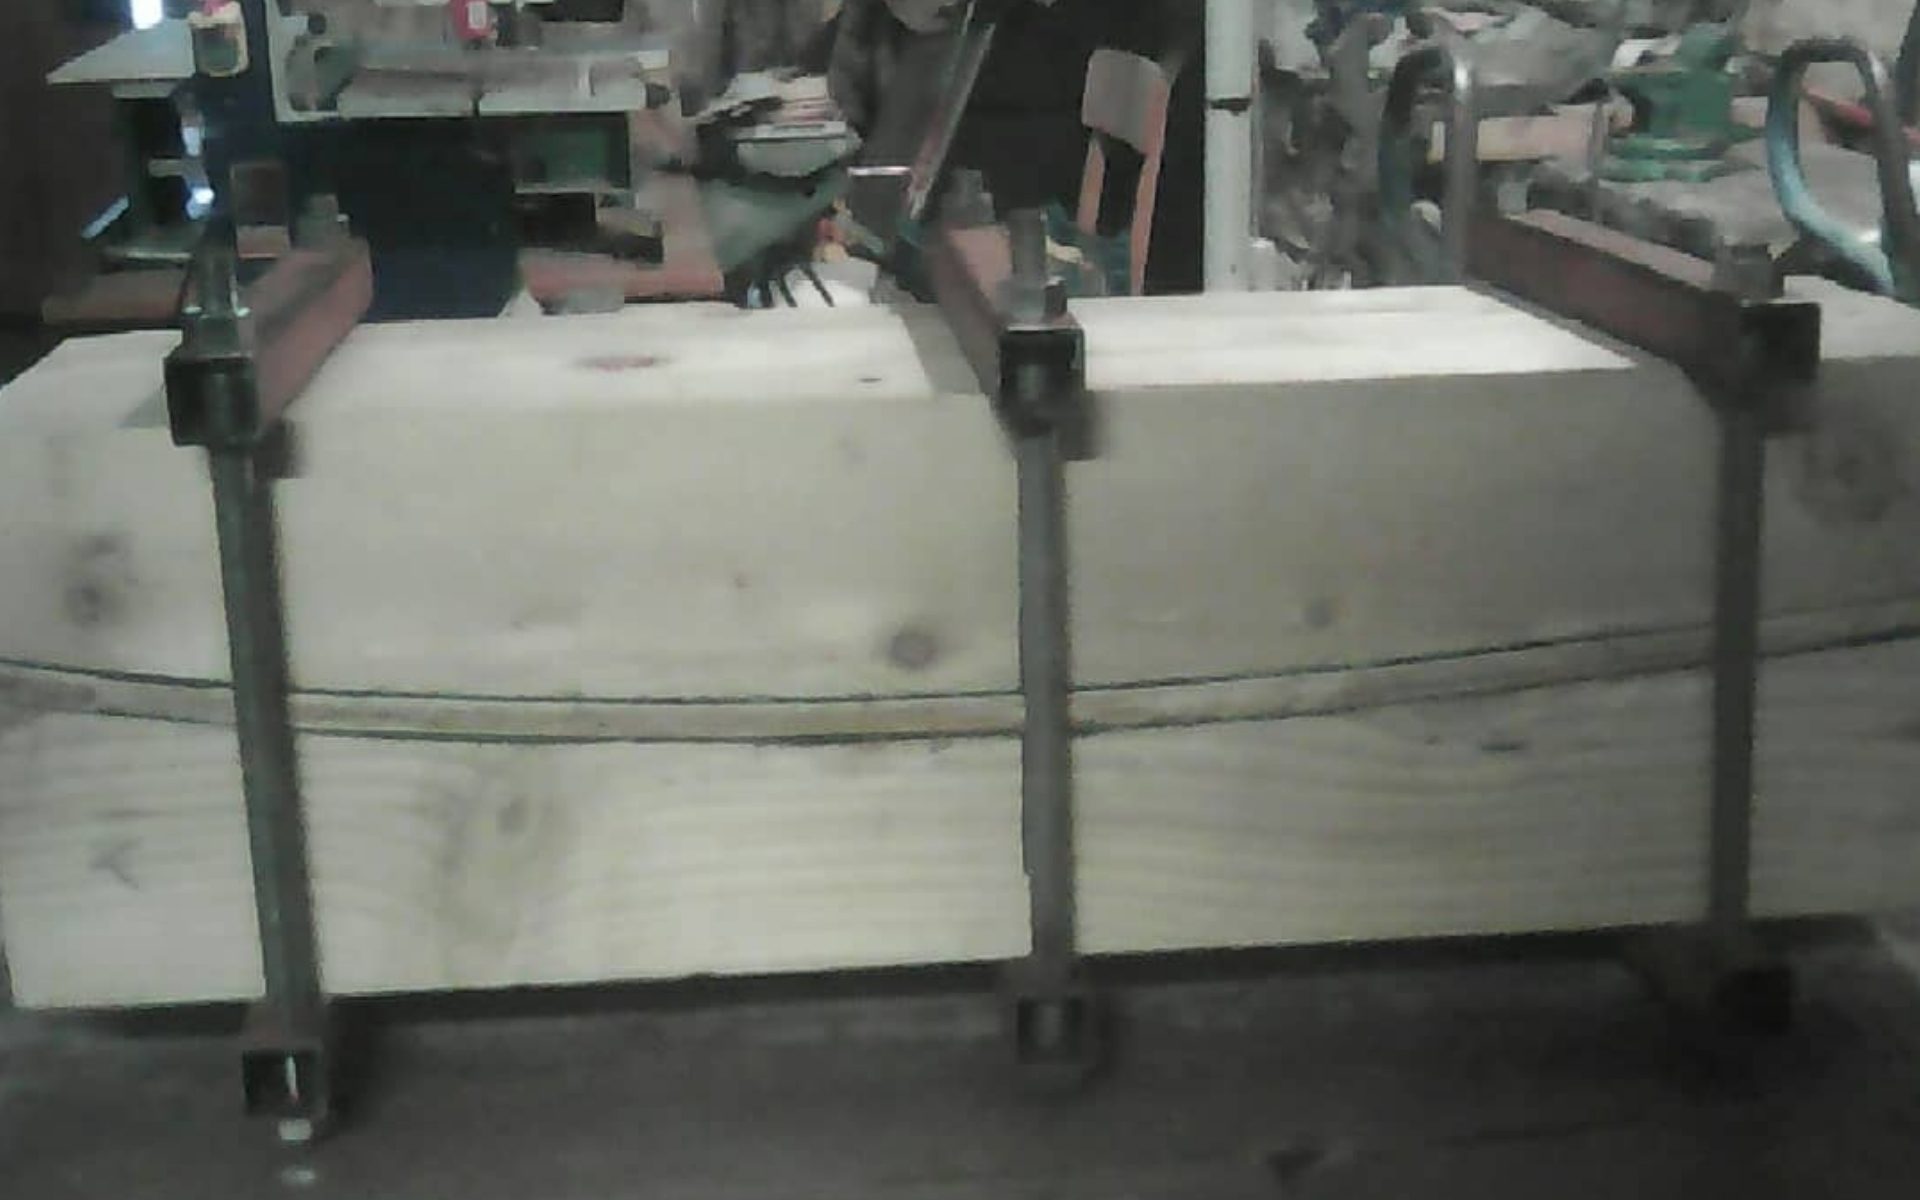
2 – Once the concave and camber are found, make a wooden mold.
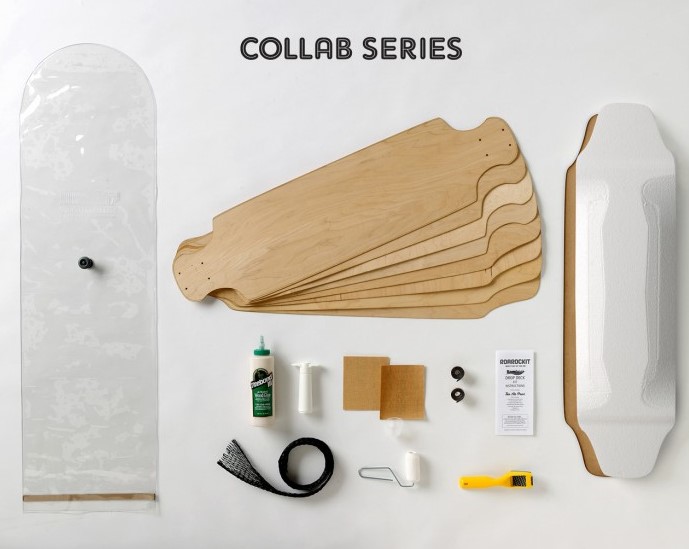
3 – Production, using a mechanical flange press, of a micro series of up to 10 boards.
I am currently working on a hydraulic concrete mold press that will see the light of day in early 2021 and should speed up the manufacturing process. It currently takes about 1 month from design to completion of a new model.
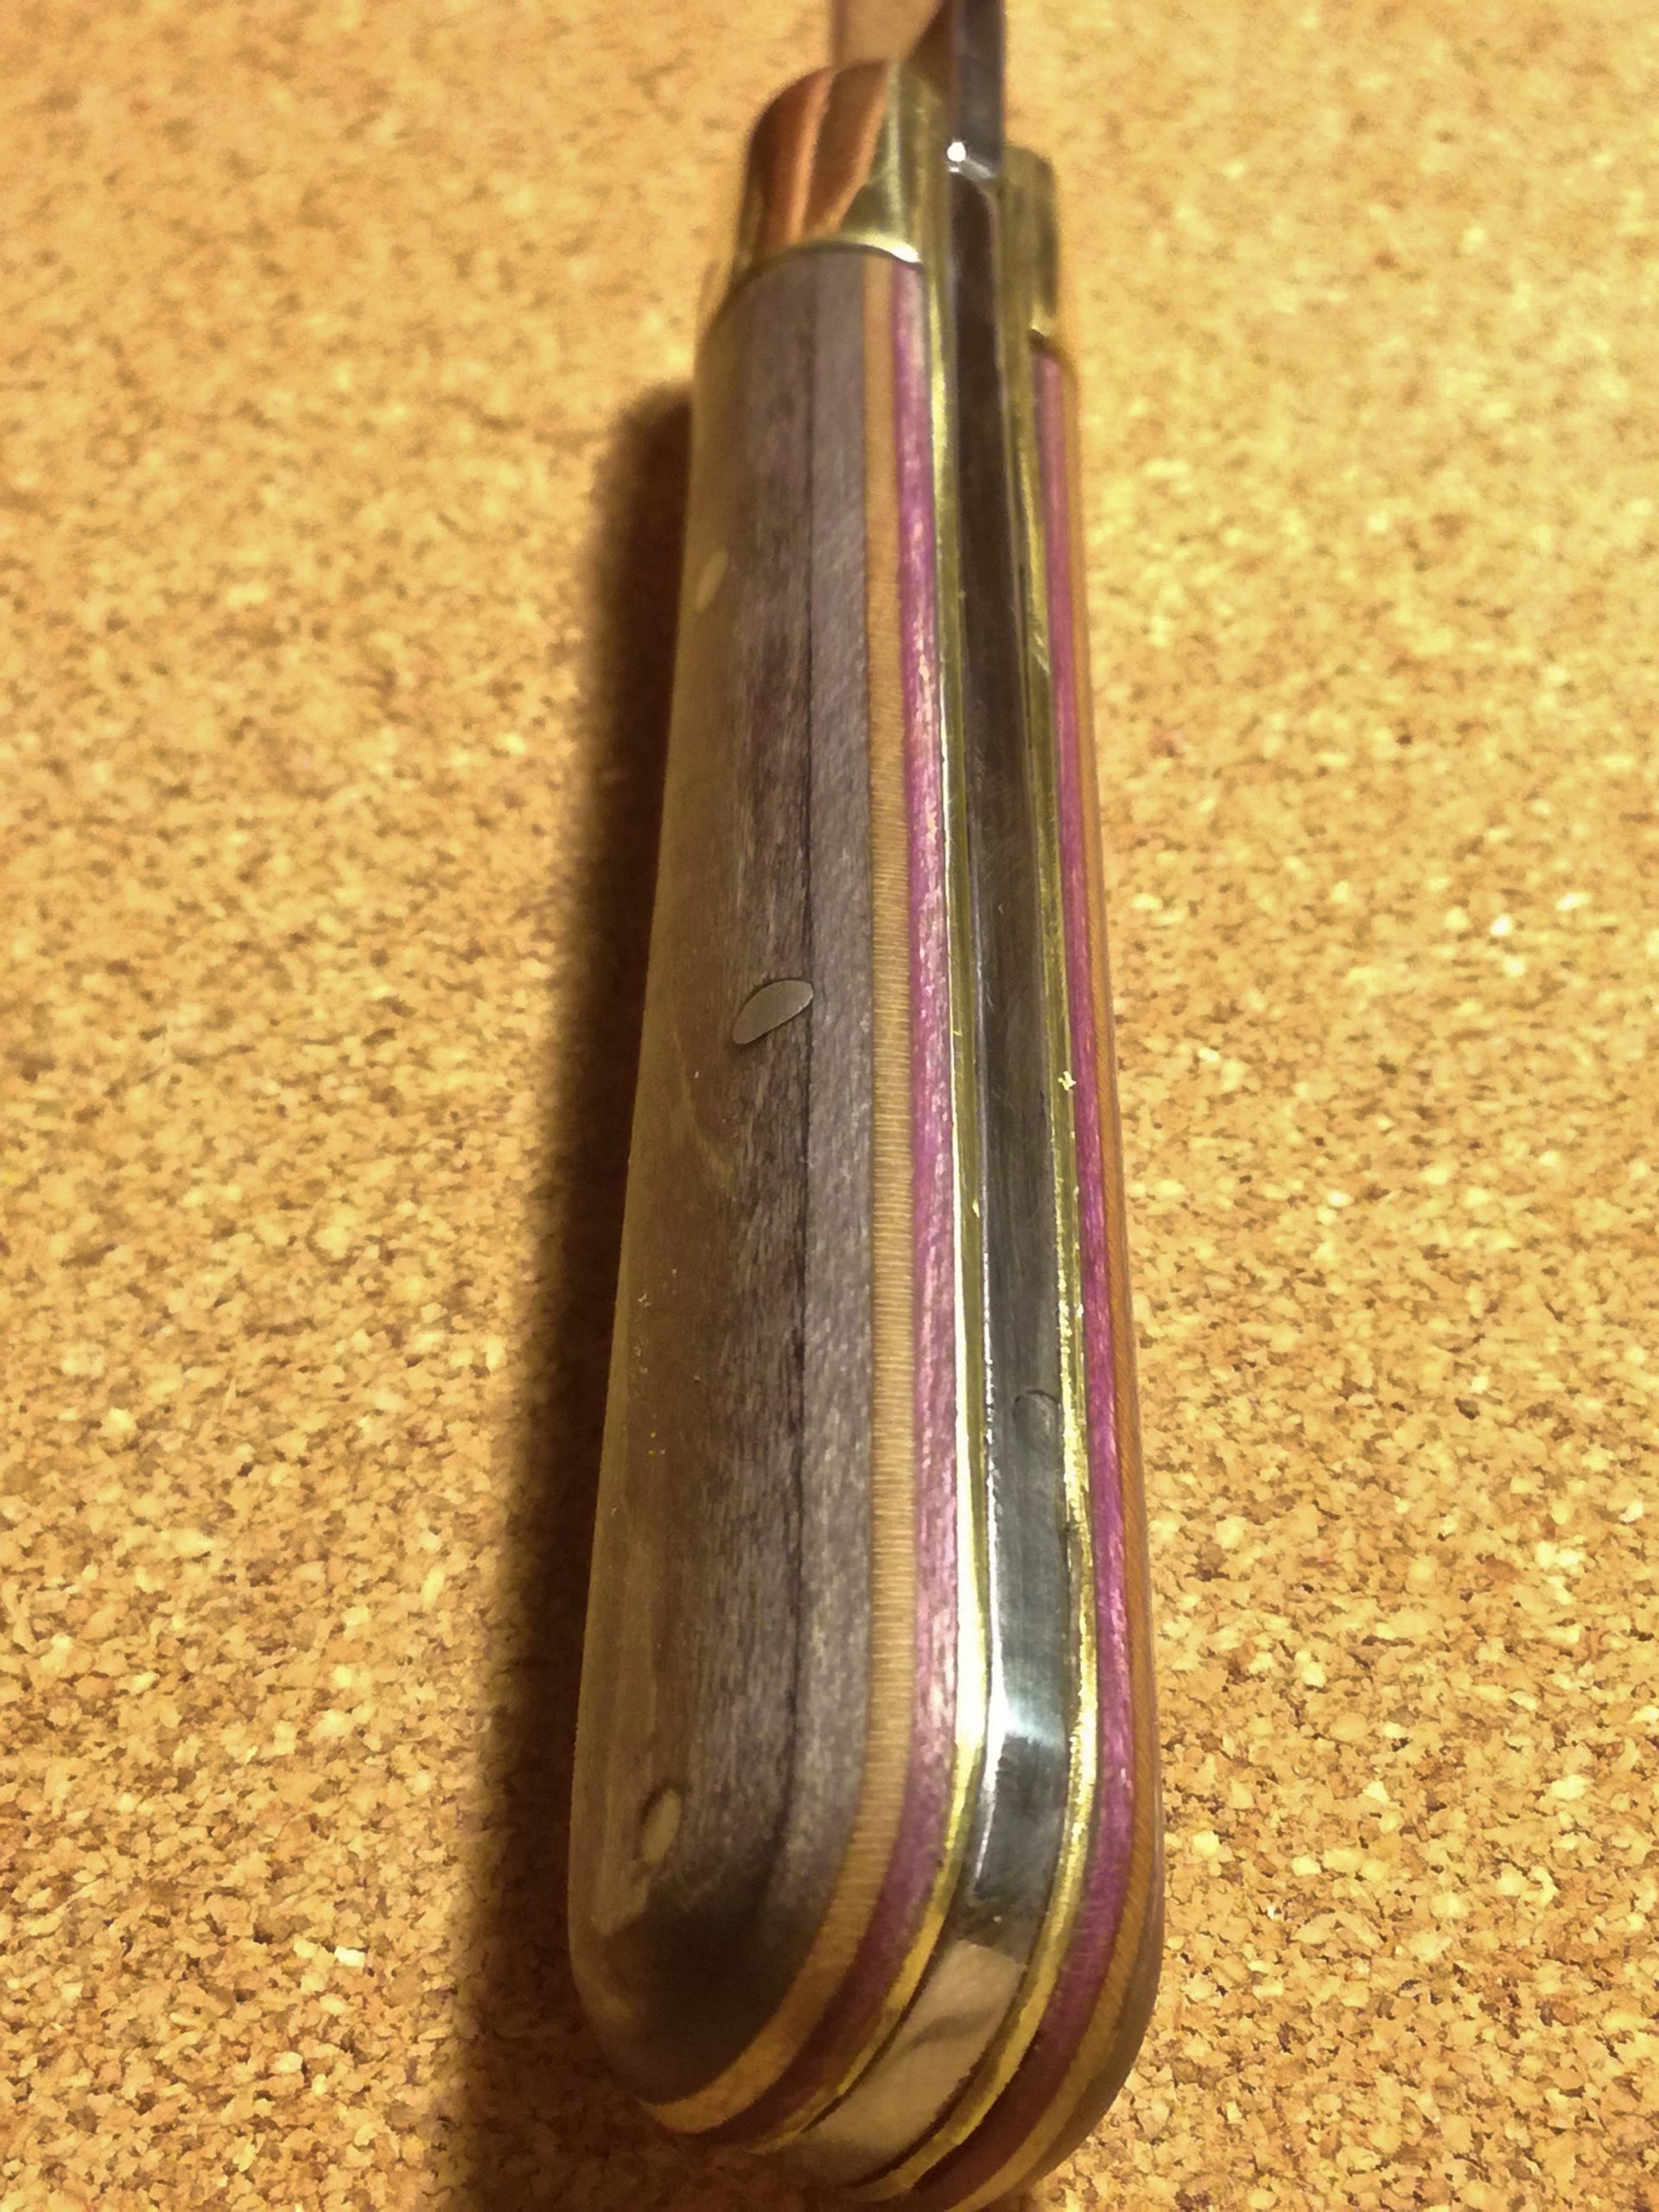
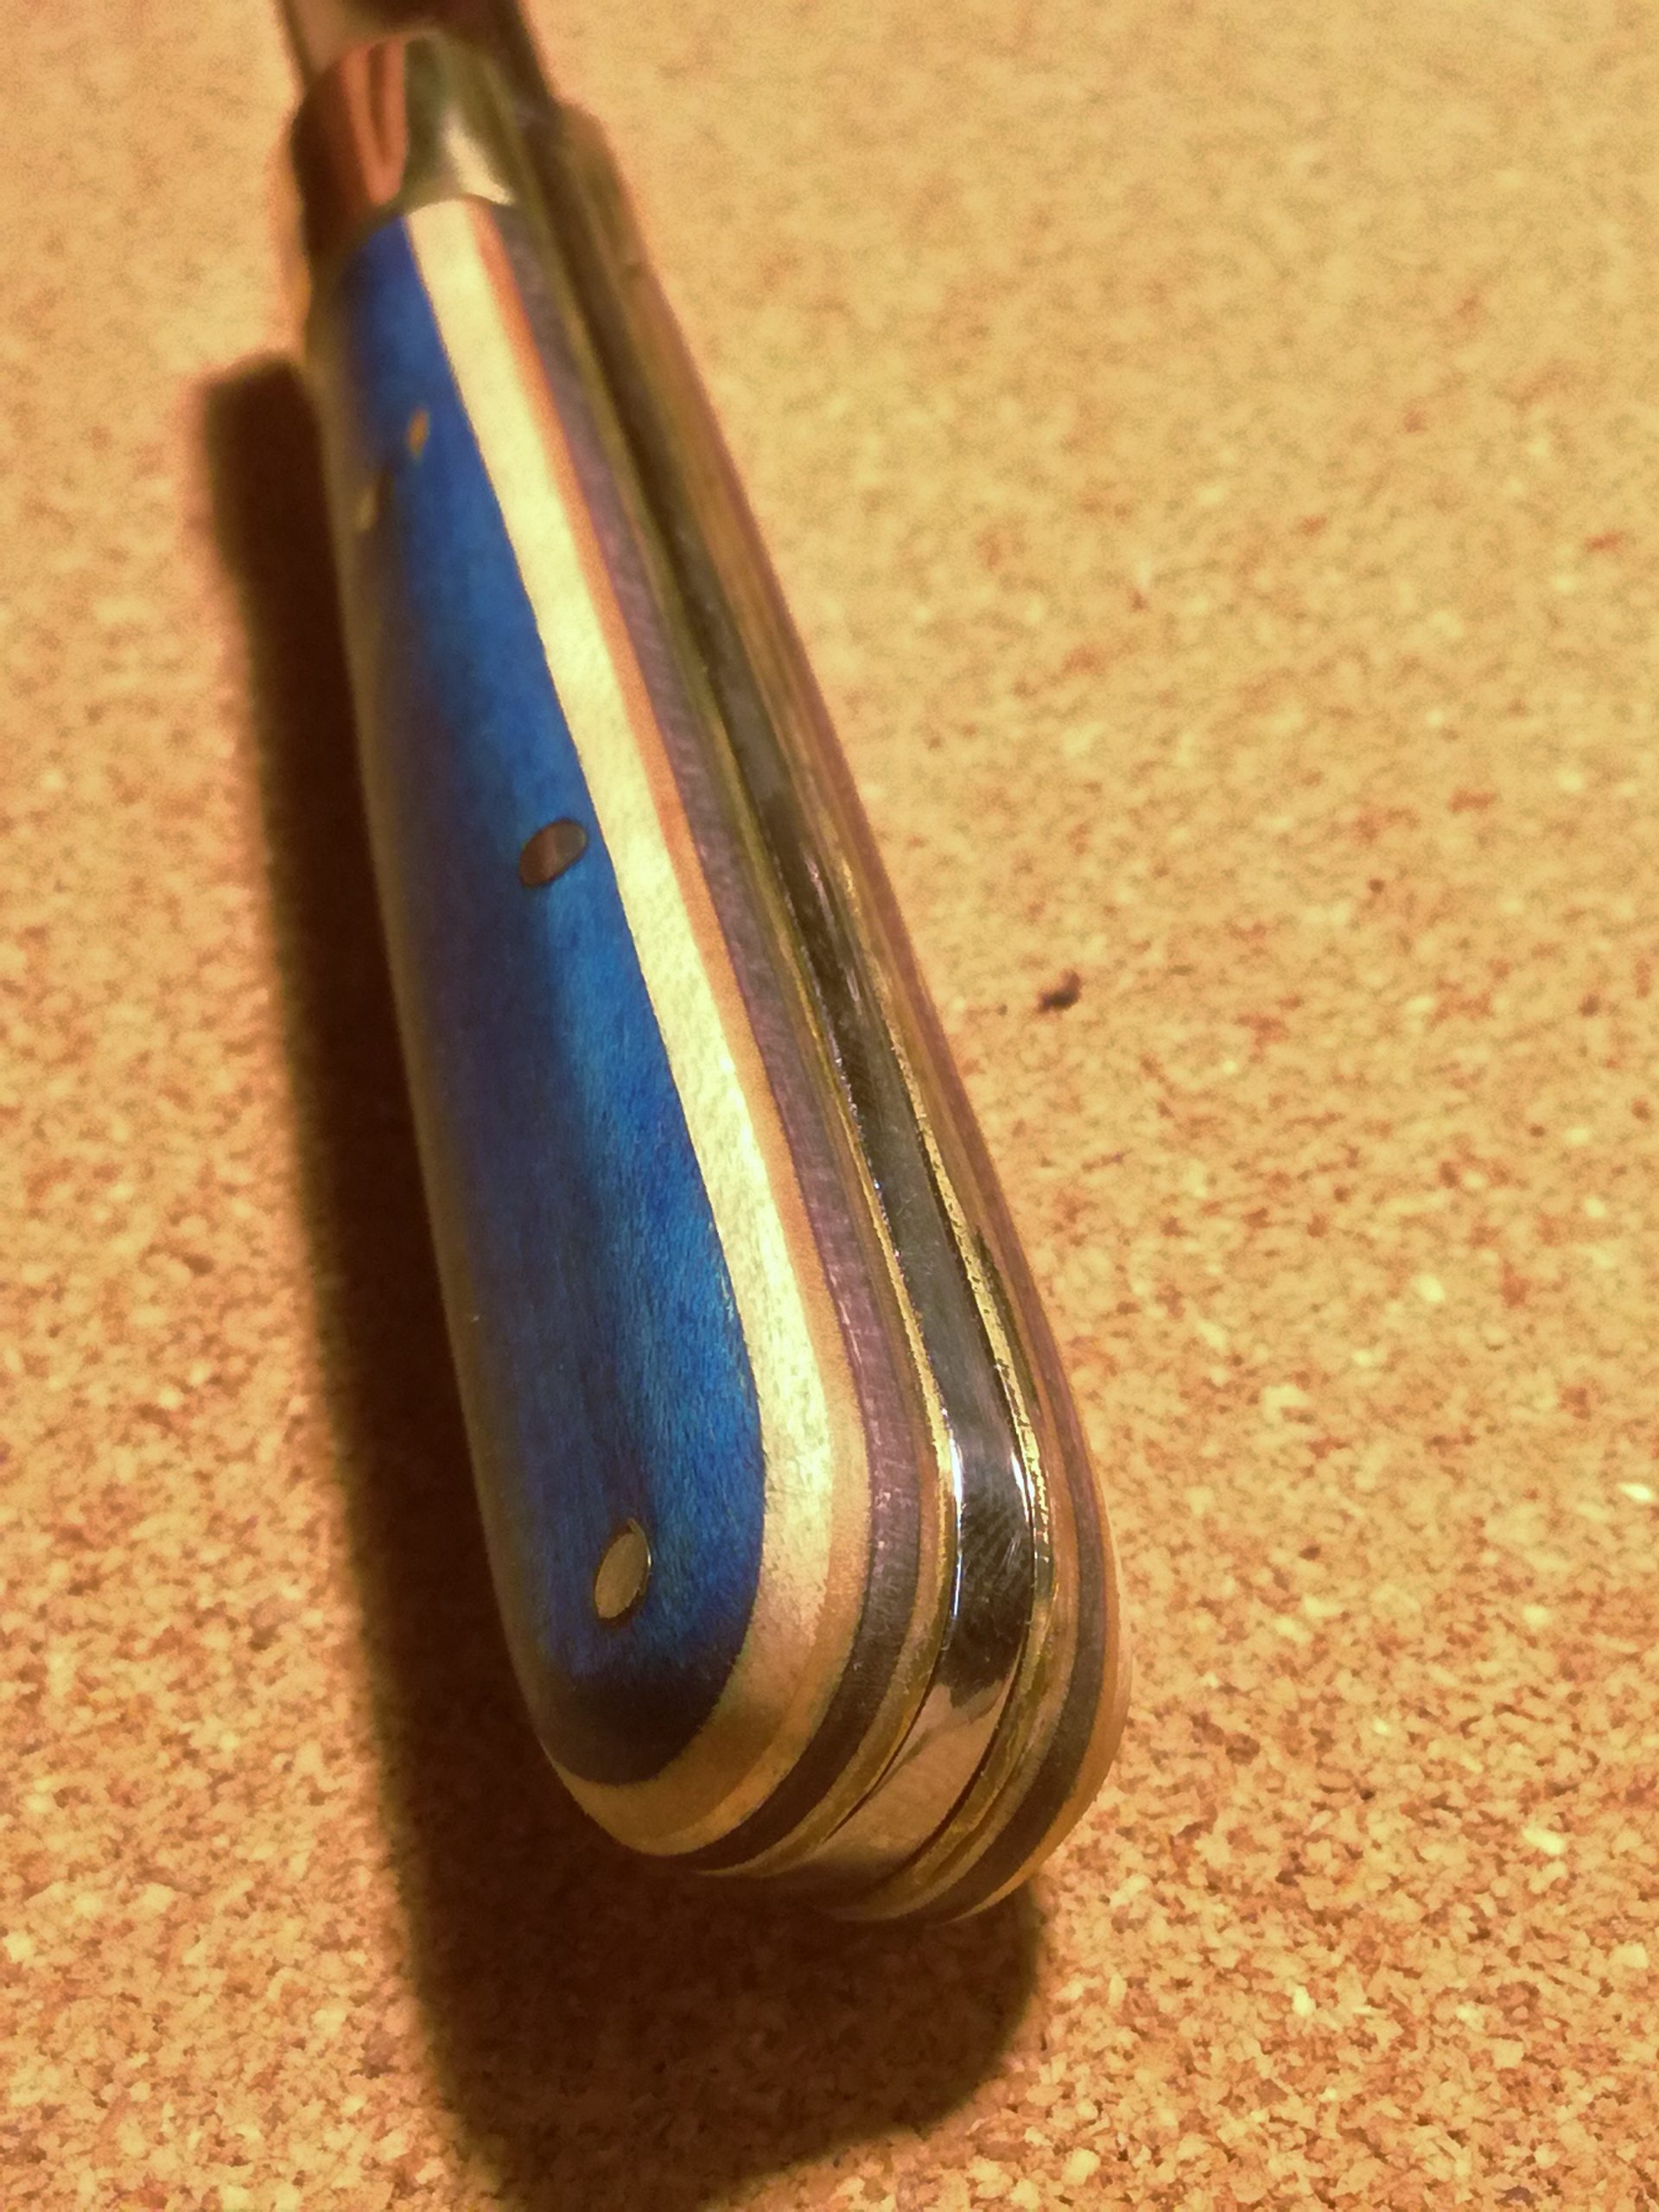
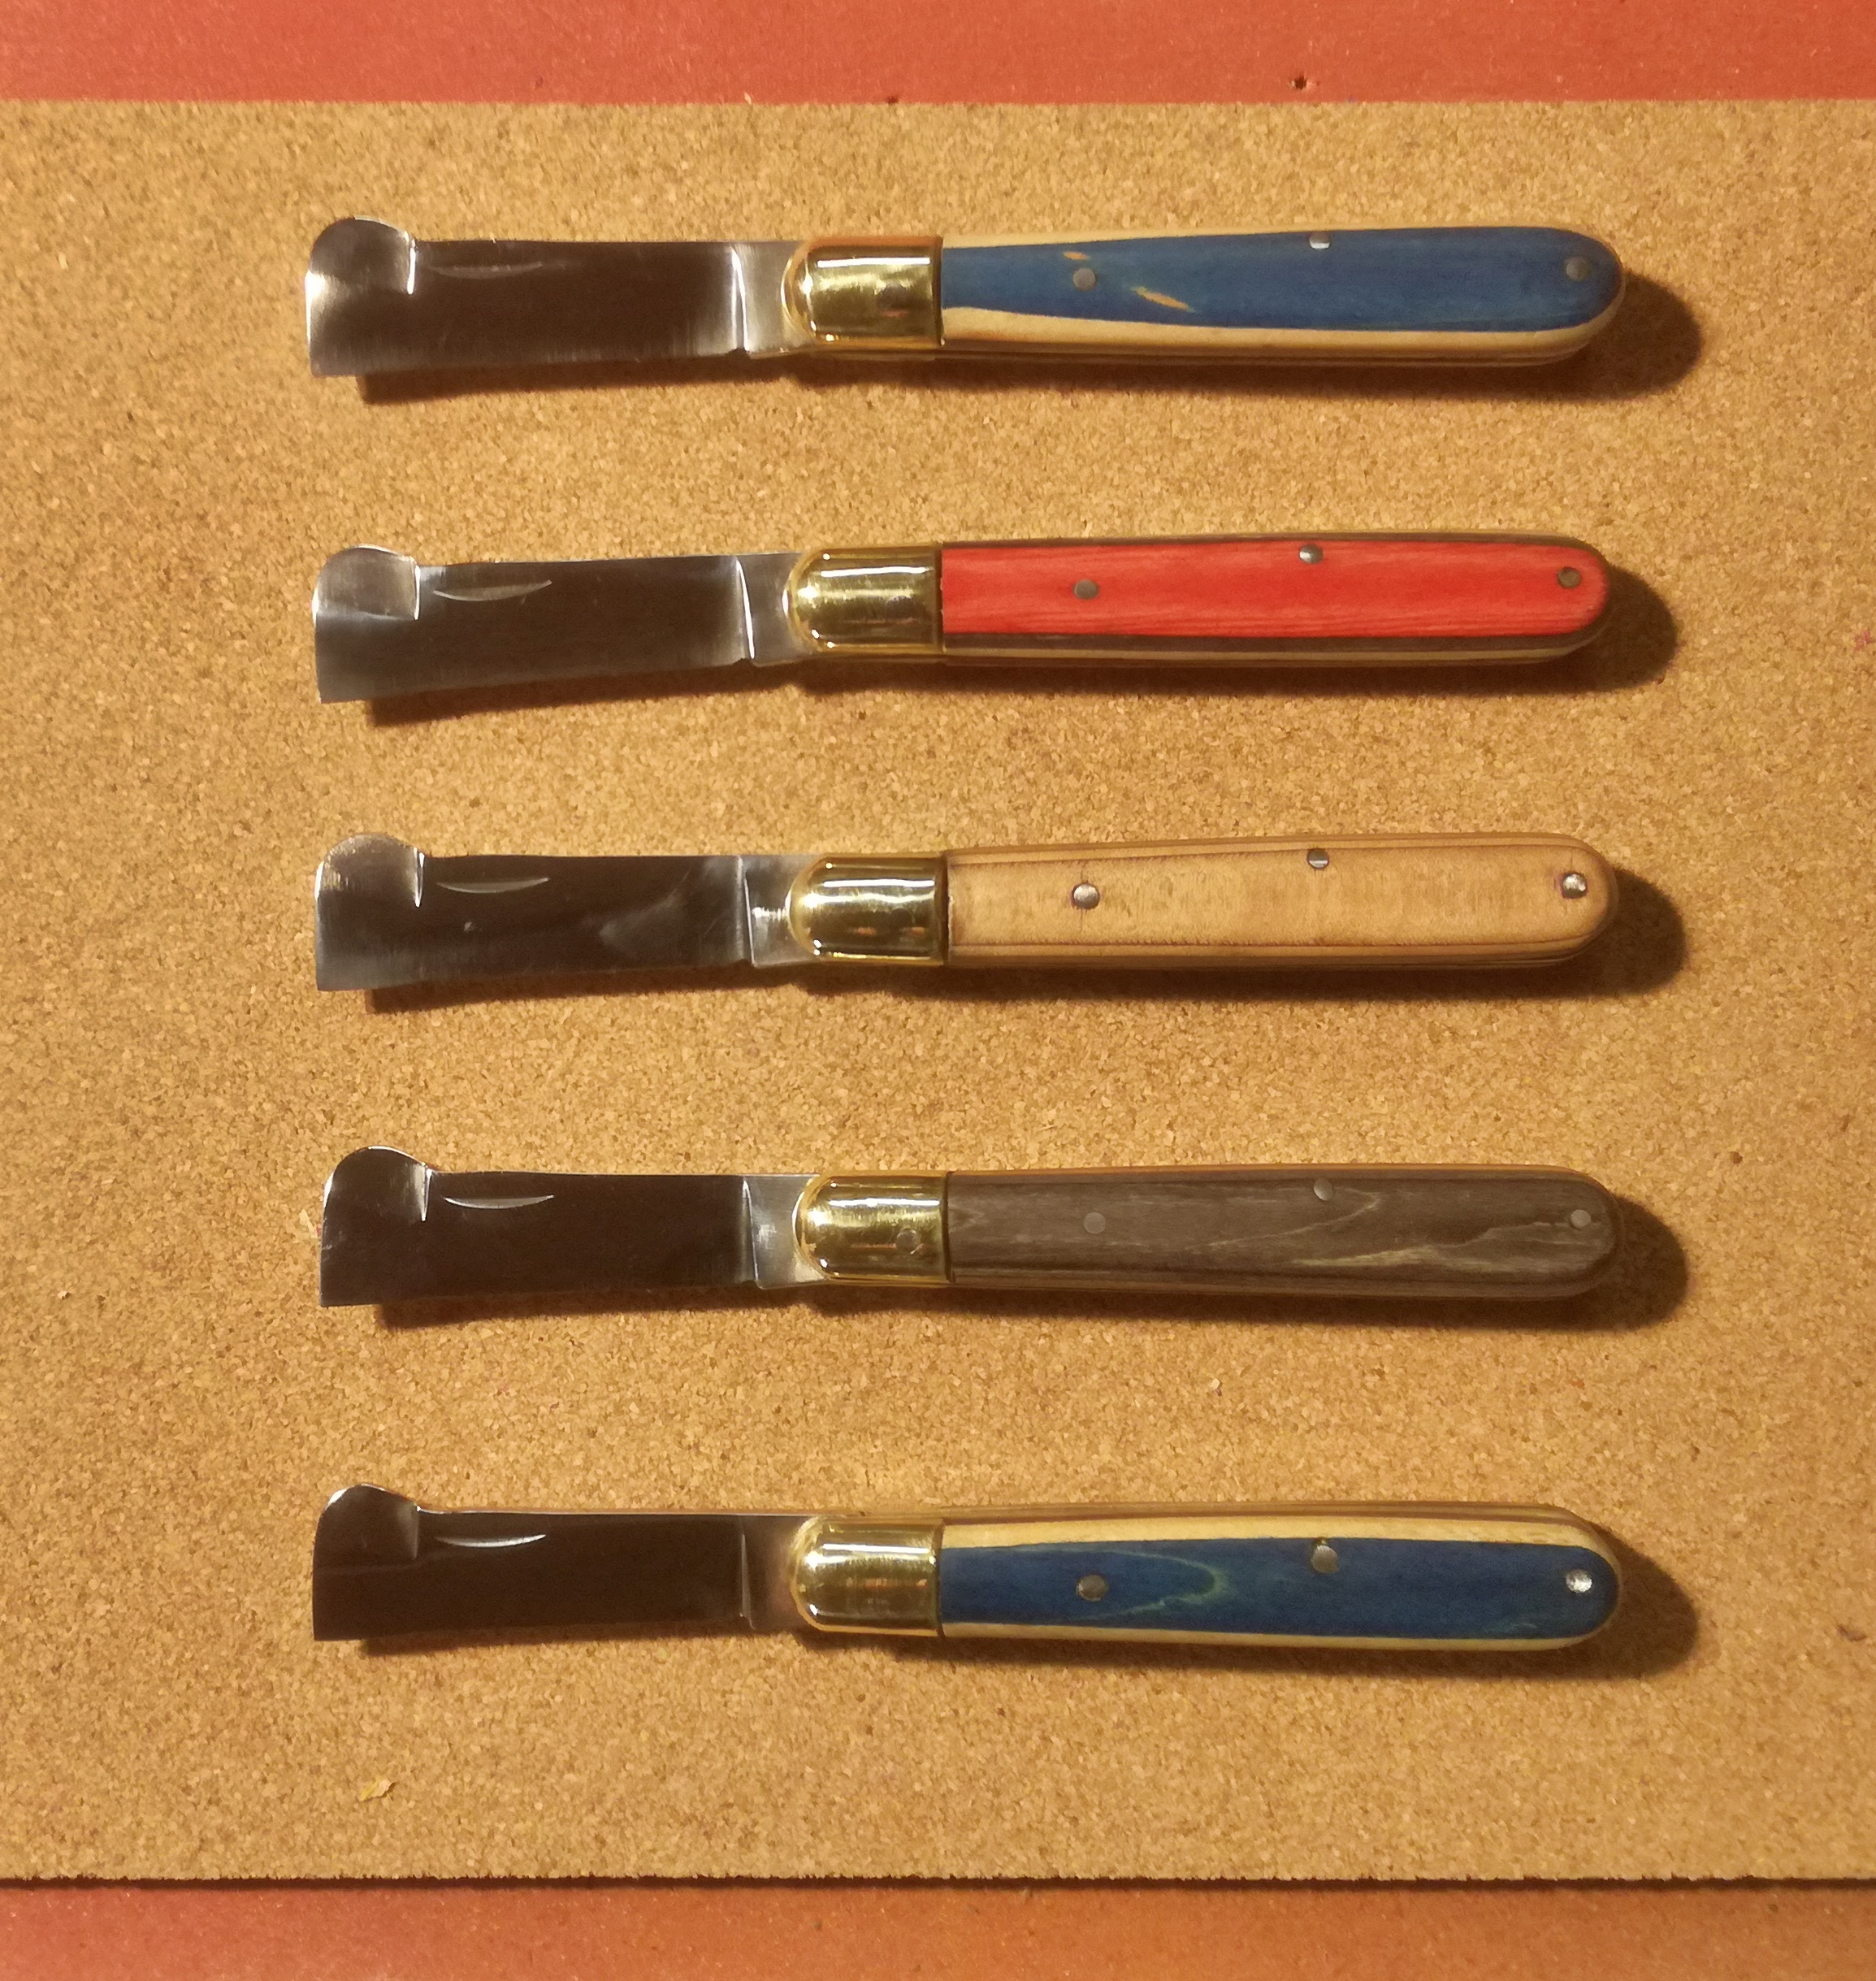
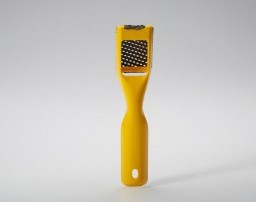
I also make knives that I mount with recycled skateboard pads or better with my wood scraps. I especially make a derivative model of grafting that I called ” The Gripper ” a tool that makes it easy to put the grip on and also works great for pizz’s during sessions !
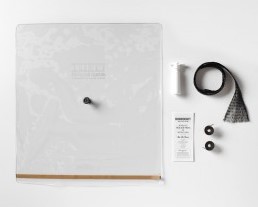
5- How does Roarockit help you with his boards?
The TAP is an indispensable tool for making protos easily.
From its simplicity of use, one can quickly modify molds, search for the right shapes, size ect…
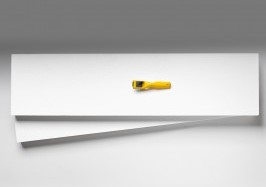
I also use the TAP a lot to press different objects I make with wood scraps (insert for knife mounts, guitar picks, wooden games ect…)
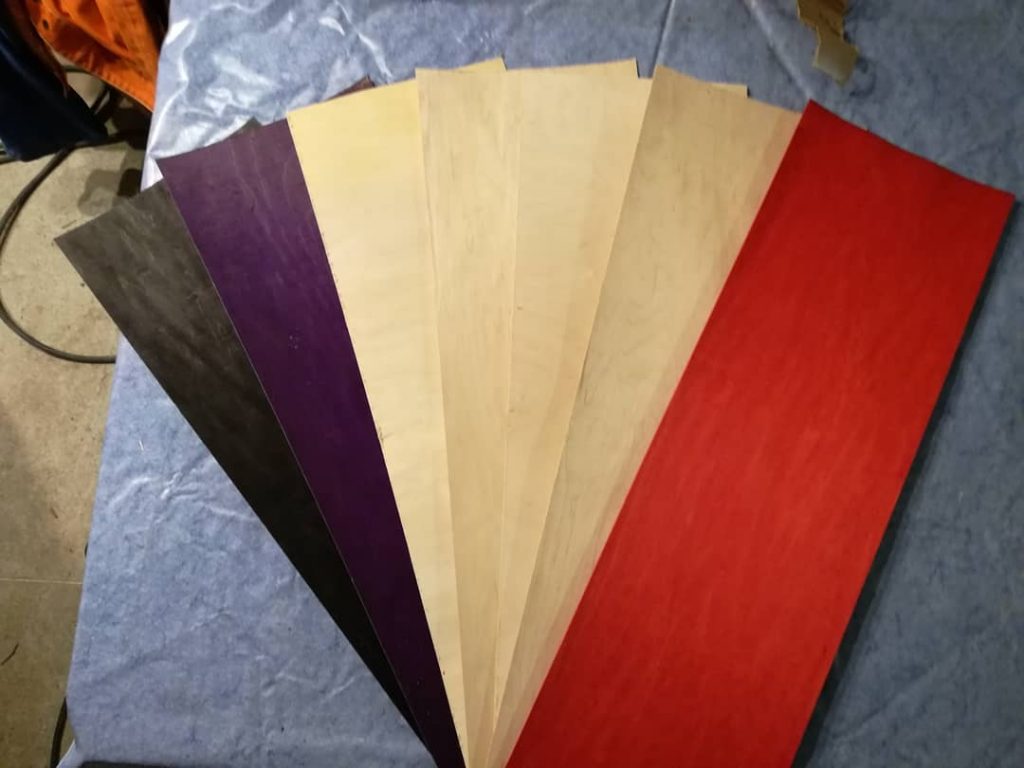
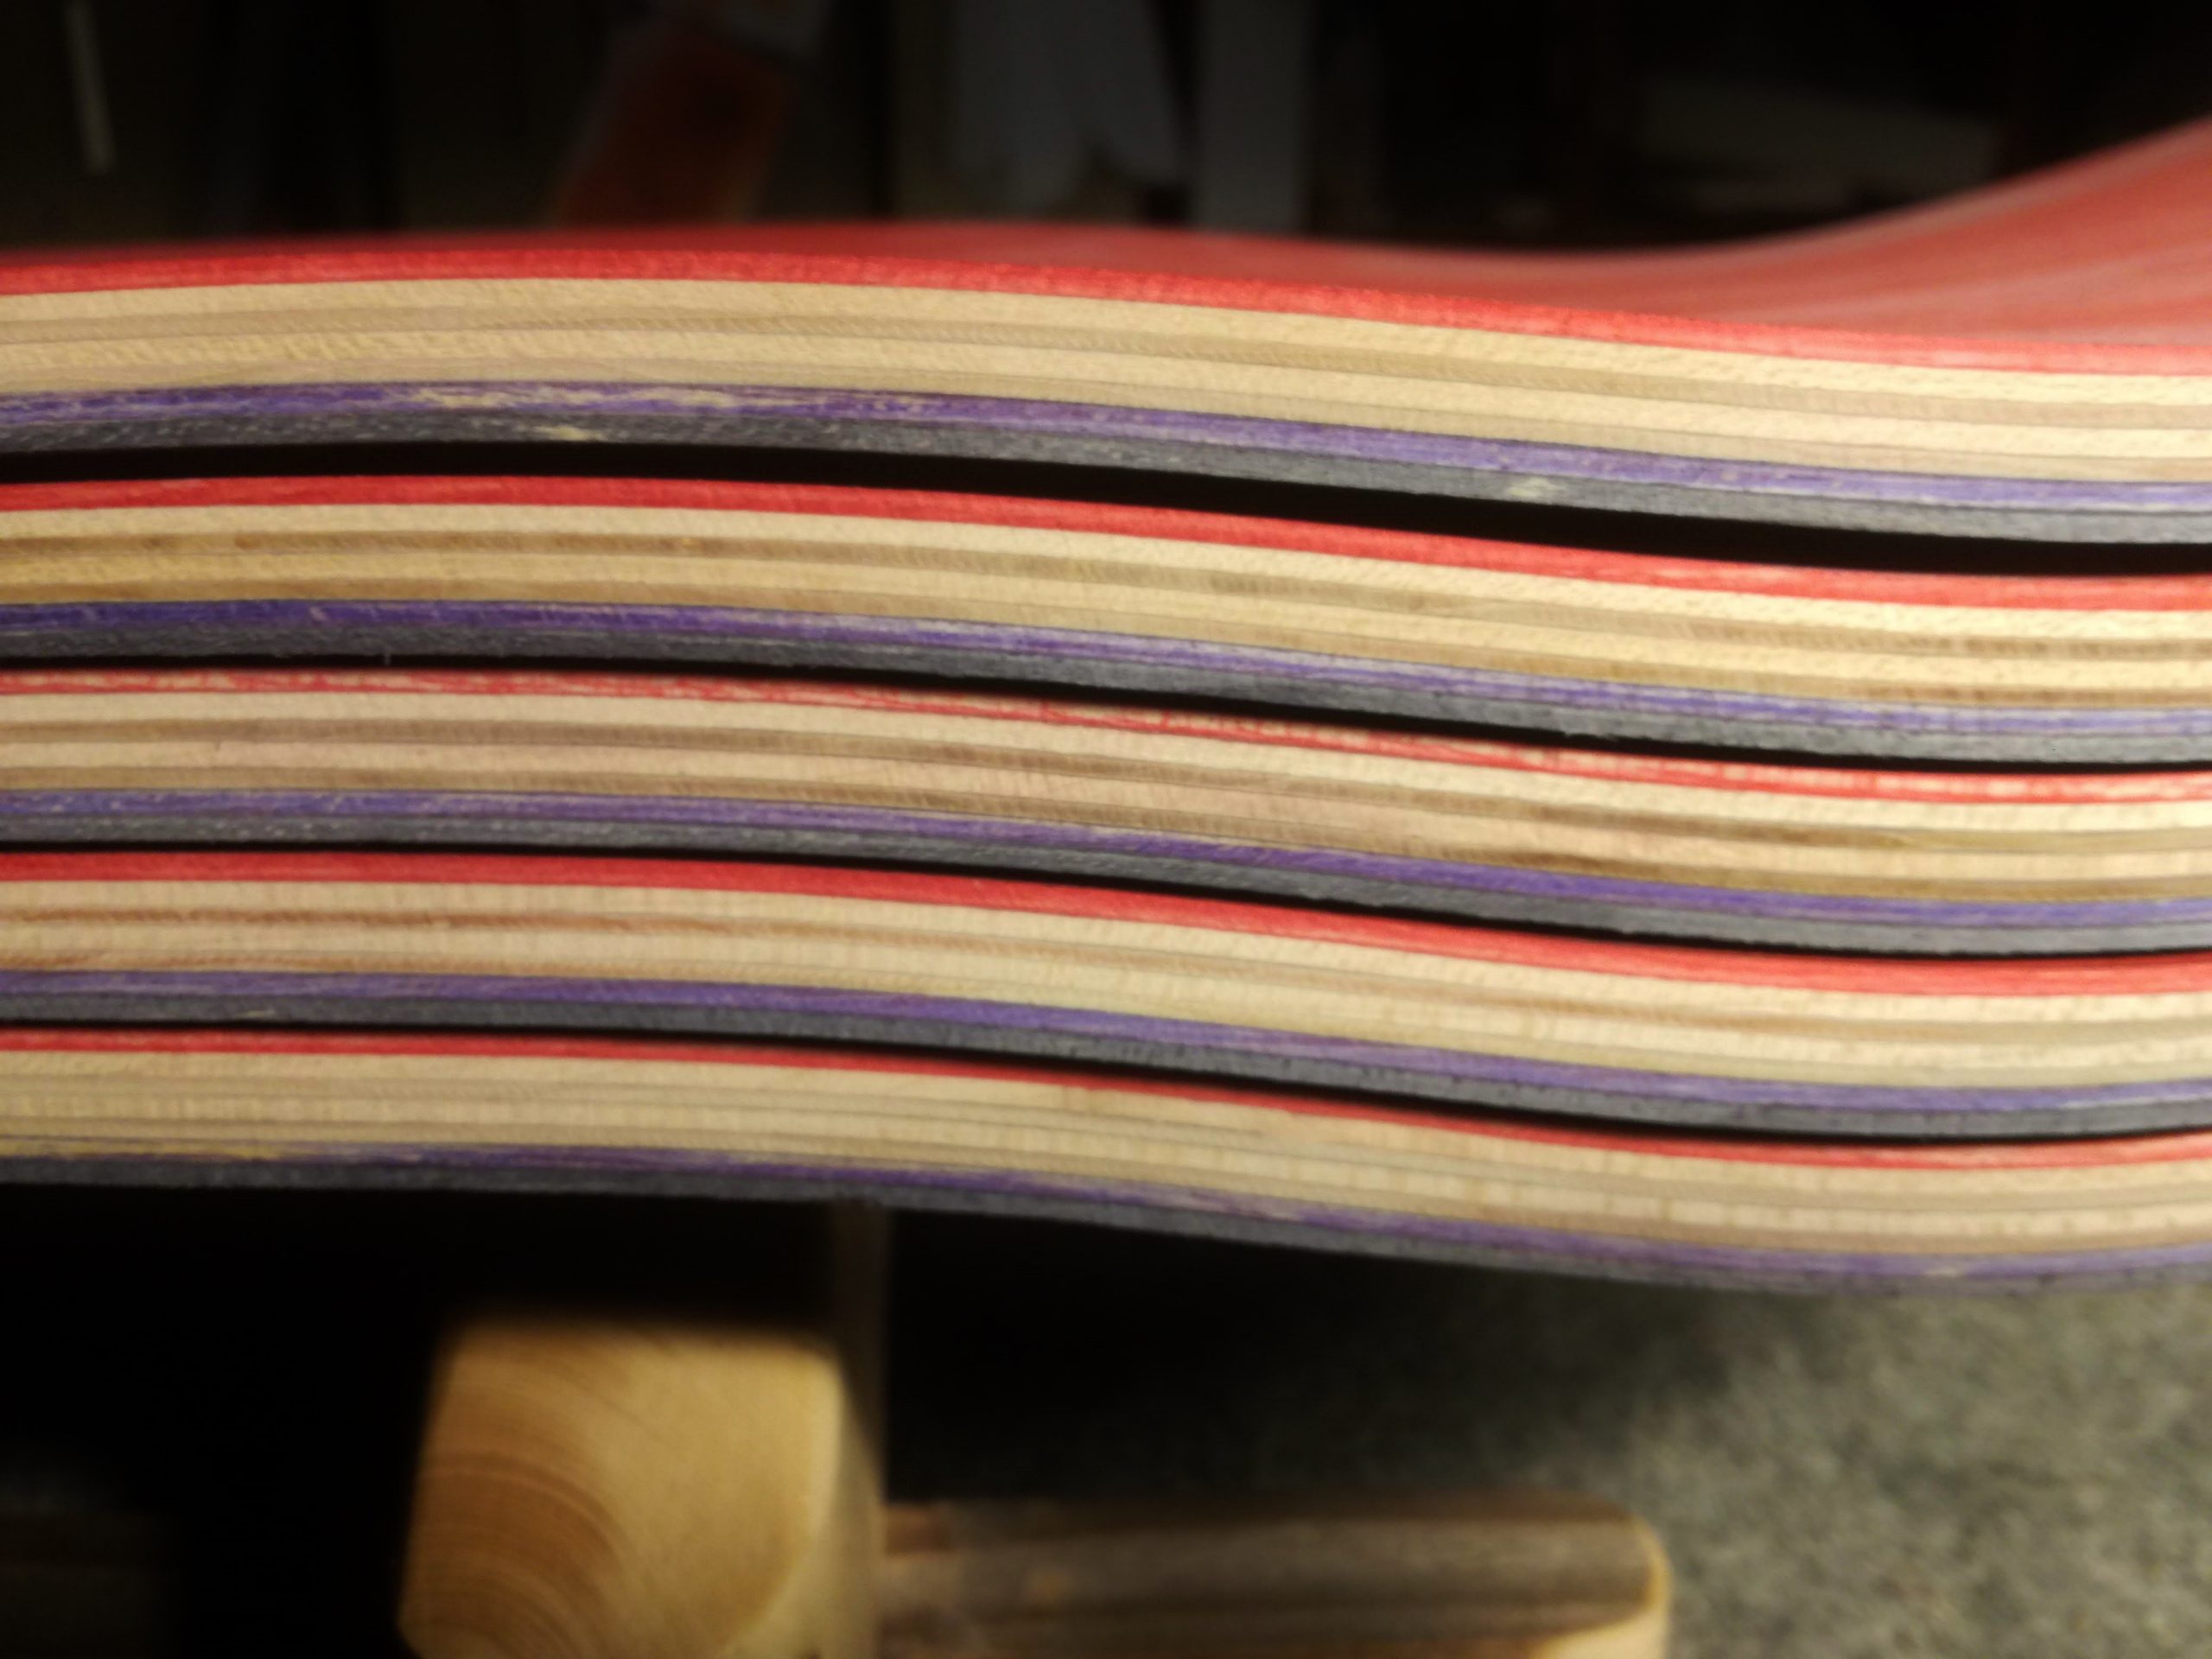
I use Roarockit’s Canadian maple for all my work, which is super quality. It’s a real pleasure to work on super clean materials. I love the color folds and the different shade changes the wood takes on depending on the stages of work ( rough, sanding, varnishing…)
7- What are your future plans?
To get back to roaming by being present on skate-parks, contests, sports events etc… With a Caravane-scene that we used to use for our shows that I’m going to refurbish this winter to make it a Mobile Skateshop.
The idea would be to distribute only boards from Independent Shapers and to have a workshop ” dépanne ” where the riders could rework the breakage of the day with material recovered here and there. I’m not sure how to do that.
By the way, if anyone is into this, feel free to contact me, the more the merrier…
9- You have free card for your last question. (thanks, sayings ….?)
Thanks to Béber for the old Kity, to Bernard for his sanding roller and his advice in woodworking, to the LET workshop and Laurenz for the knives assembly, to phil for the log, to polo for the future site to my neighbors for some illustrations and especially to the Riders who trust me.
A big big up to the family, buddies, and people in my village who support me.
It’s amazing to see that when you scratch a little, poke around, take an interest in others, a lot of doors open. You just have to be patient…
Several months ago, Roarockit received an order from Wood’n’Stuff. Ever since, we have been in admiration of his work, following his technics and the evolution of his projects.
Now, months down the road, we are particularly proud to be able to share the story behind Wood’n’Stuff and what it has become today.
So, can you tell us a little bit about yourself, where do you come from, what you did before etc…?
Sure — I’m Peter, a thirty something occasional woodworker from the town of Budapest, Hungary and a proud father of two. I manage a software product by day and I have a second life working with wood by night. I guess it’s needless to draw your attention to the classic “concealed superhero” setting here 😛
When did you first get into woodworking ?
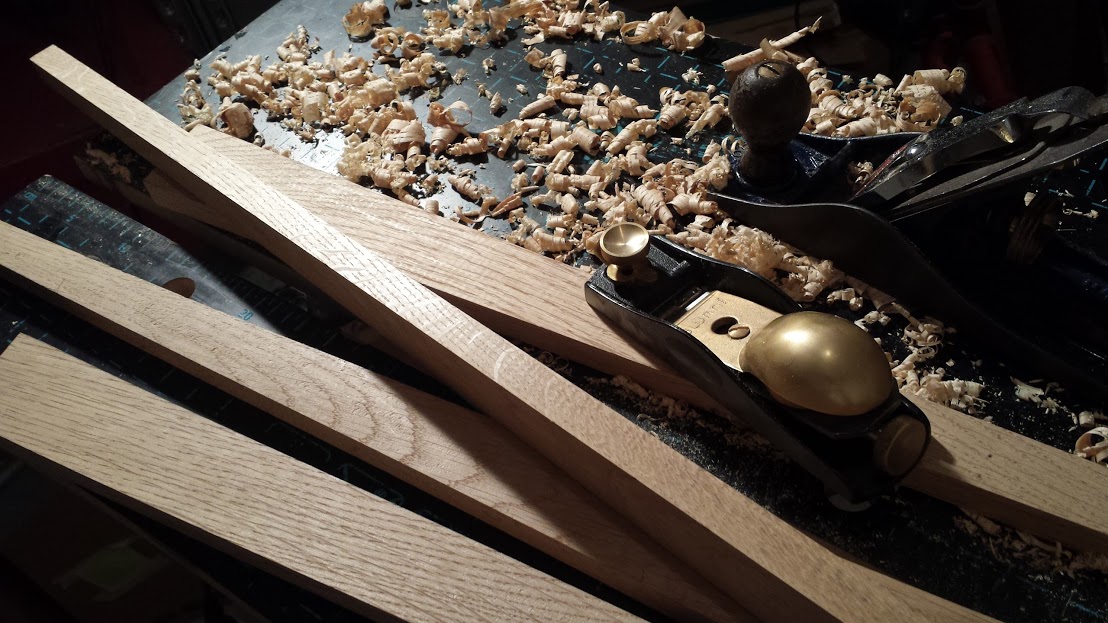
It started out with a hinge that I wanted to mortise into an IKEA storage bench. I carefully researched the subject — that’s two YouTube videos — then headed out to the home improvement store and returned with a chisel and a mallet. Four gruelling hours later I swiped away the sweat on my forehead and proudly adored two rather ugly-looking recesses for the hinges. With the 10 points immediately deposited on my Manliness Account, I decided this experience was for me and that’s where it all started (only later I learned that chisels are sold dull and need to be sharpened before first use).
This was two years ago. Ever since then I stick with hand tools — chisels, hand saws and hand planes, that kind of stuff. They are slow and take a good deal of skill that I’m still very much in progress of acquiring, but they offer a kind of intimacy with wood I doubt I could get from power tools. It’s an incredibly intensive thing. And I get to keep my fingers.
When, why and how did you find the Roarockit technology ?
Frankly, I don’t recall where exactly I ran into it, but I do remember it was some Internet forum where the commenters said the inventor’s idea can’t possibly work. This was kind of odd for a product that has already been proven and sold by then, so the name “Roarockit” stuck in my mind.
A year later, when my project ideas called for something more flexible than traditional clamping I decided to give the TAP kit a try. In a way, this was because someone, somewhere once said that this was going to be a poor decision 🙂 You gotta love the irony.
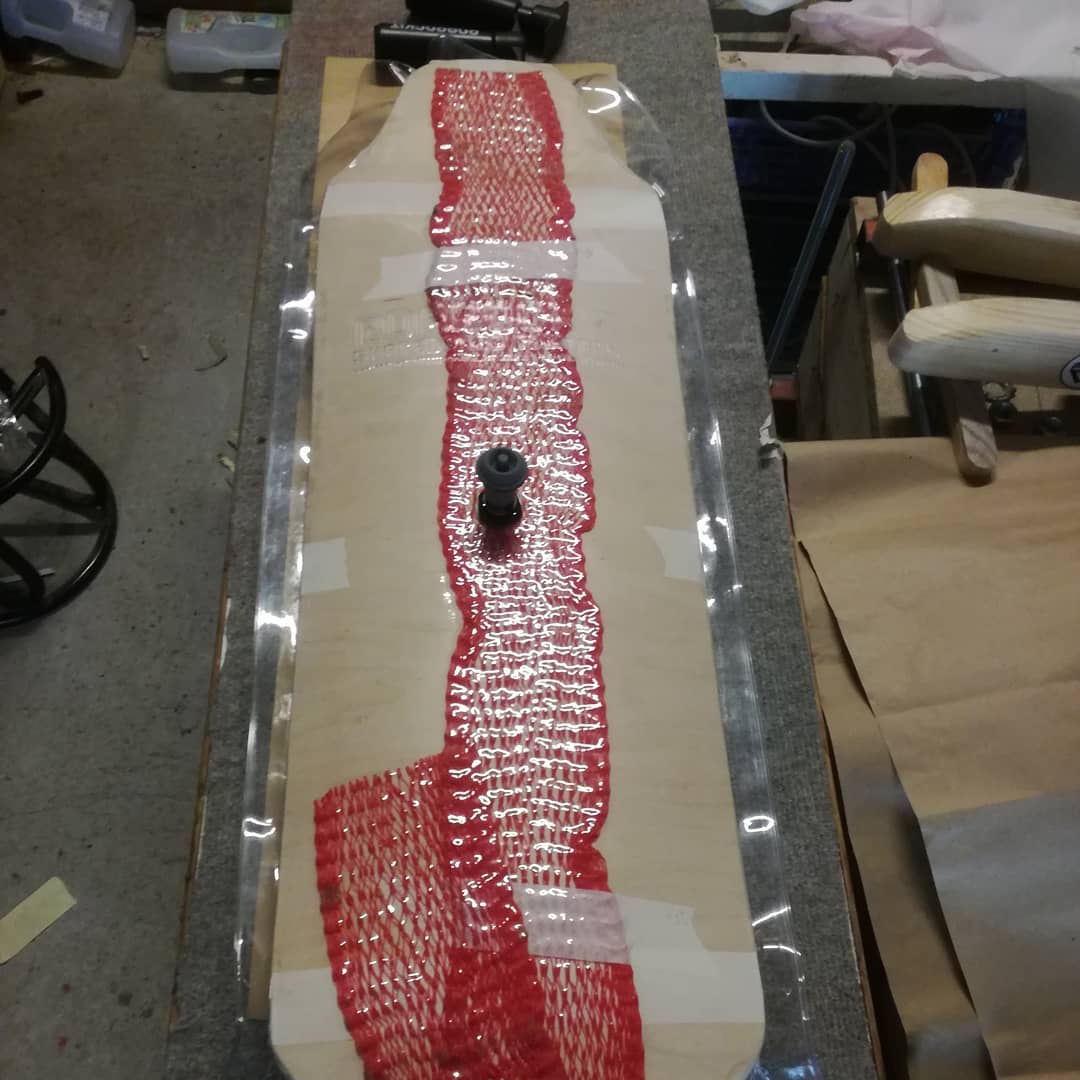
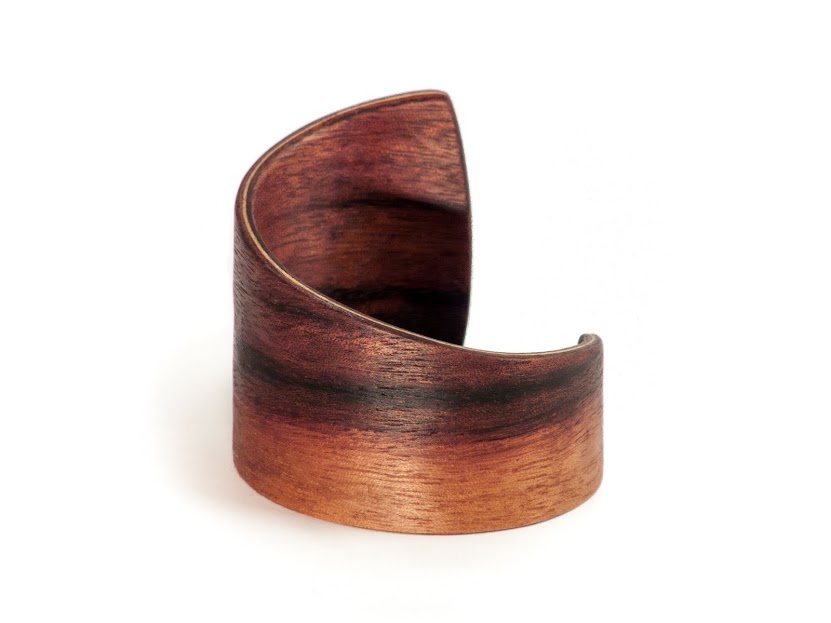
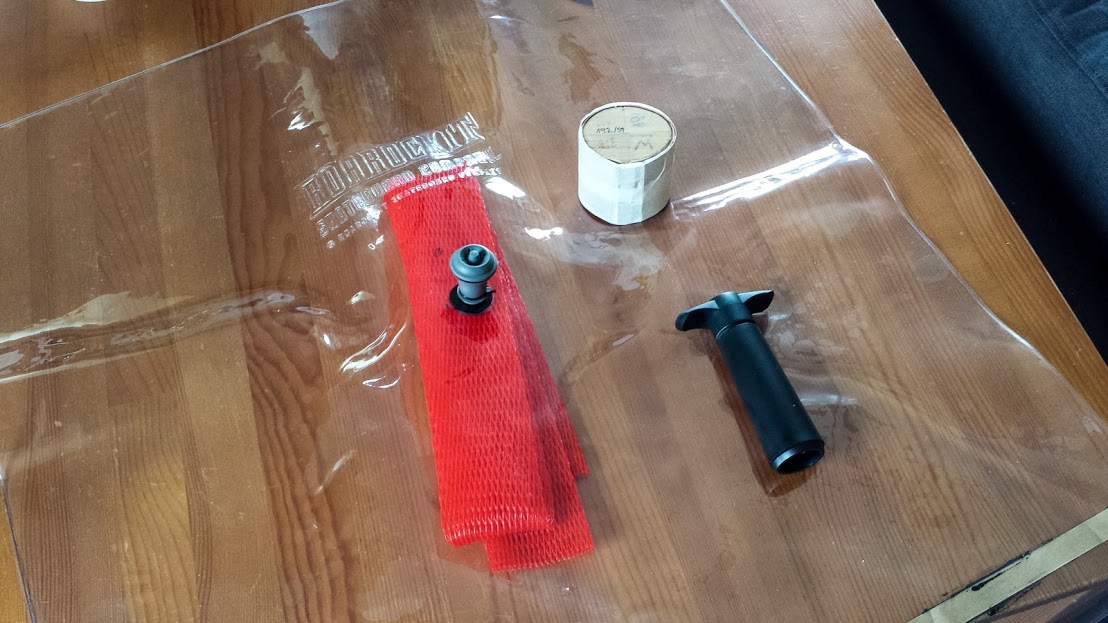
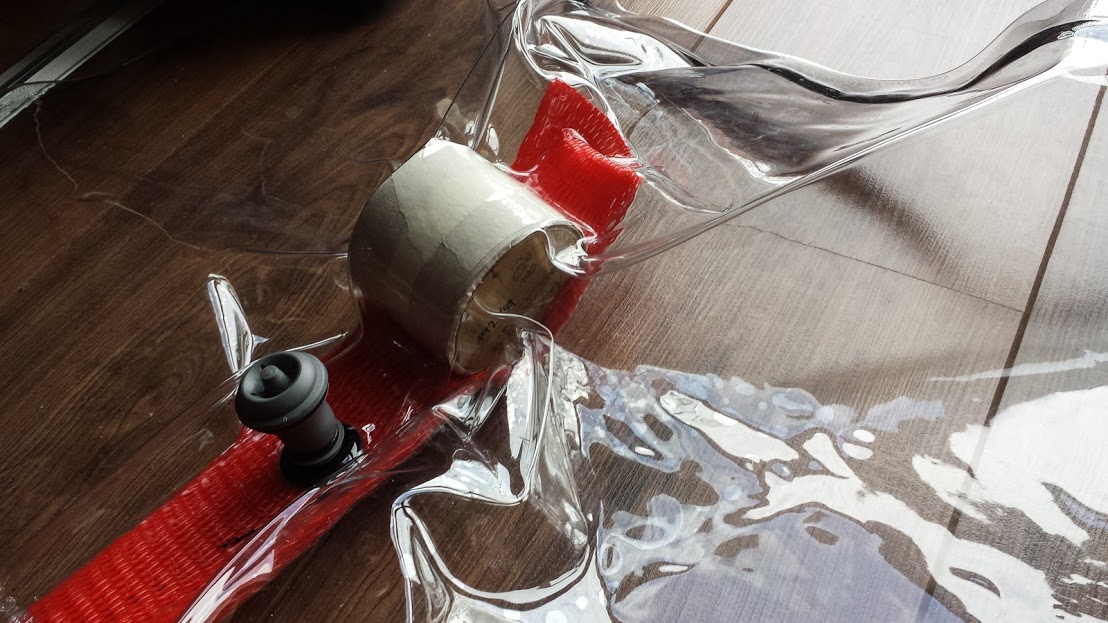
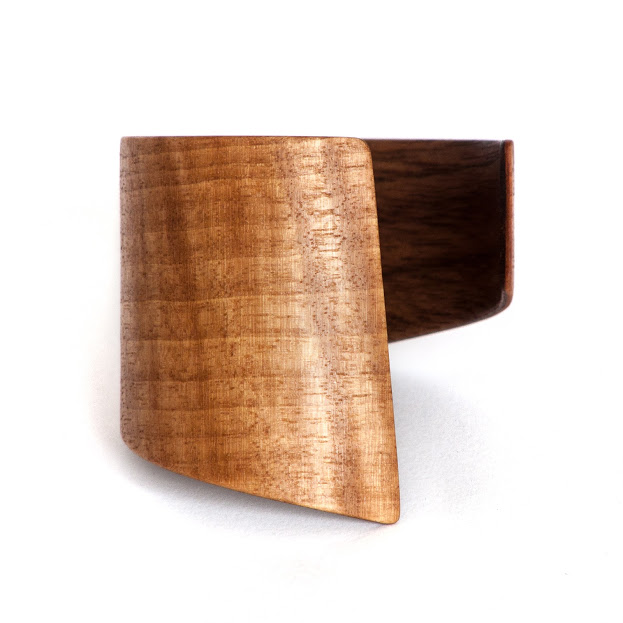
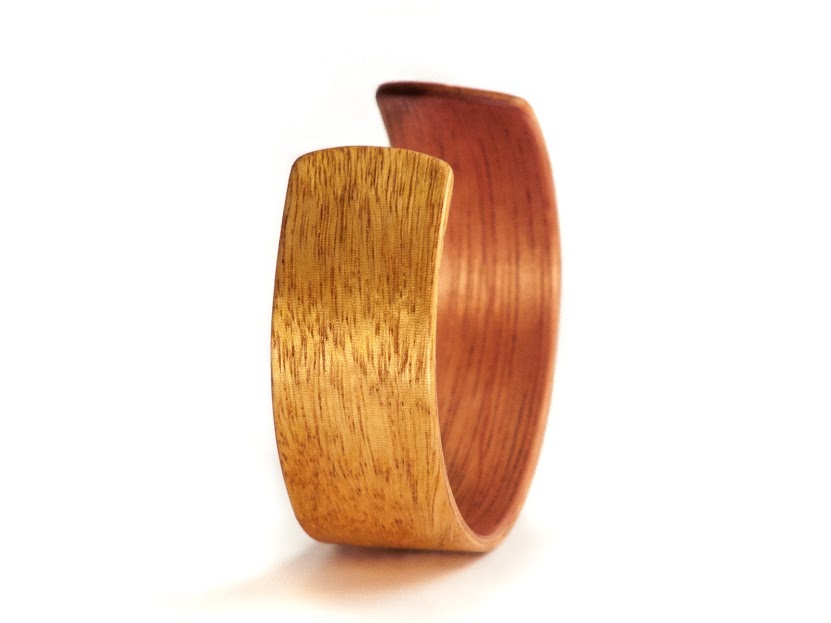
In particular, I looked into vacuum pressing because my bentwood bracelets are made of several layers of veneers laminated onto circular molds and vacuuming saves me tons of work by not having to make a mold negative to press veneers onto the mold.
I have to admit I had doubts about whether TAP will work for the tighter curves I need compared to a skateboard, but once the test project passed with flying colors — no gaps between layers or impressions from the breathing net — I put it into use immediately. My setup is pretty similar to the skateboard building one, except that I use thinner veneers (1/32” instead of 1/16”) and another PVA glue instead of Titebond III. I’m yet to test it with some of the more rigid veneers like goncalo alves, but I’m confident it will work just as flawlessly as with the softer hardwoods.
What is the spirit of wood’n’stuff? Why did you create it ?
How could I not? It combines my two things I feel passionate about: woodworking and creating products 🙂 It’s so much fun to build something from the ground up, starting with nothing but blank canvas.
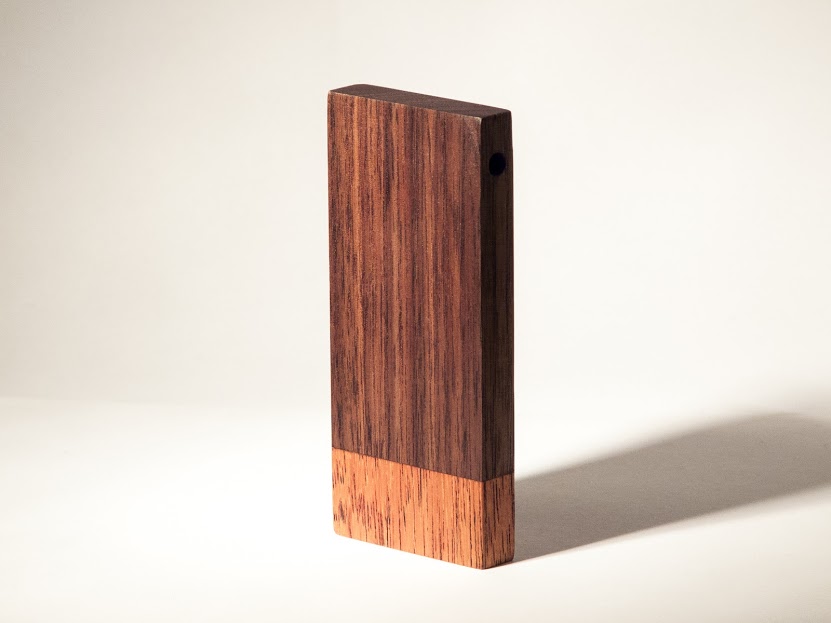
The spirit is definitely geometric as opposed to ornamental. Ok, it positively helps that I suck at drawing, but being a “sans serif” kind of guy, the things that get me going are lines, angles, ratios, curves borrowed from perfect circles. Frankly, I could admire a perfectly polished slab of steel for hours 🙂 Geometry is also such an alien concept to an utterly organic material like wood that it acts as a frame and highlights the natural grain of wood. A hard edge on a block of wood forces your mind to traverse the grain, to reveal the structure, to fully comprehend the uniqueness of wood as a material.
What do you expect from wood’n’stuff? How far do you want to go ?
Wherever the road takes us! At this point, I’m thinking about growing a well-groomed beard and buying a flannel shirt to get fully immersed in the subculture 🙂
I try to keep this project fun and not to take it too seriously — hence the name “wood’n’stuff” — which is surprisingly hard given the tremendous passion that goes into it. Of course, in my dreams it grows into an awesome full-time woodworking enterprise, with a rustic barn converted into a heated shop and huge slabs of walnut neatly stacked up next to my collection of $400 Lie-Nielsen bench planes, but let’s just say the seed has just sprouted and there’s a long way ahead and milestones to conquered. Like reaching breakeven. Ahem 🙂
Are there any new projects for wood’n’stuff?
Oh, more than I have time for. I definitely want to further explore veneer lamination bracelets and I can freely experiment with any convex shape now, thanks to my TAP kit which I hereby endorse 🙂 I have some exciting ideas that will be put to the test in the coming weeks.
I’m also very interested bringing cast concrete and wood together. Walnut with its earthy brown, in particular, looks stunning next to grey industrial concrete, so that should be another way to bring out the beauty of wood.
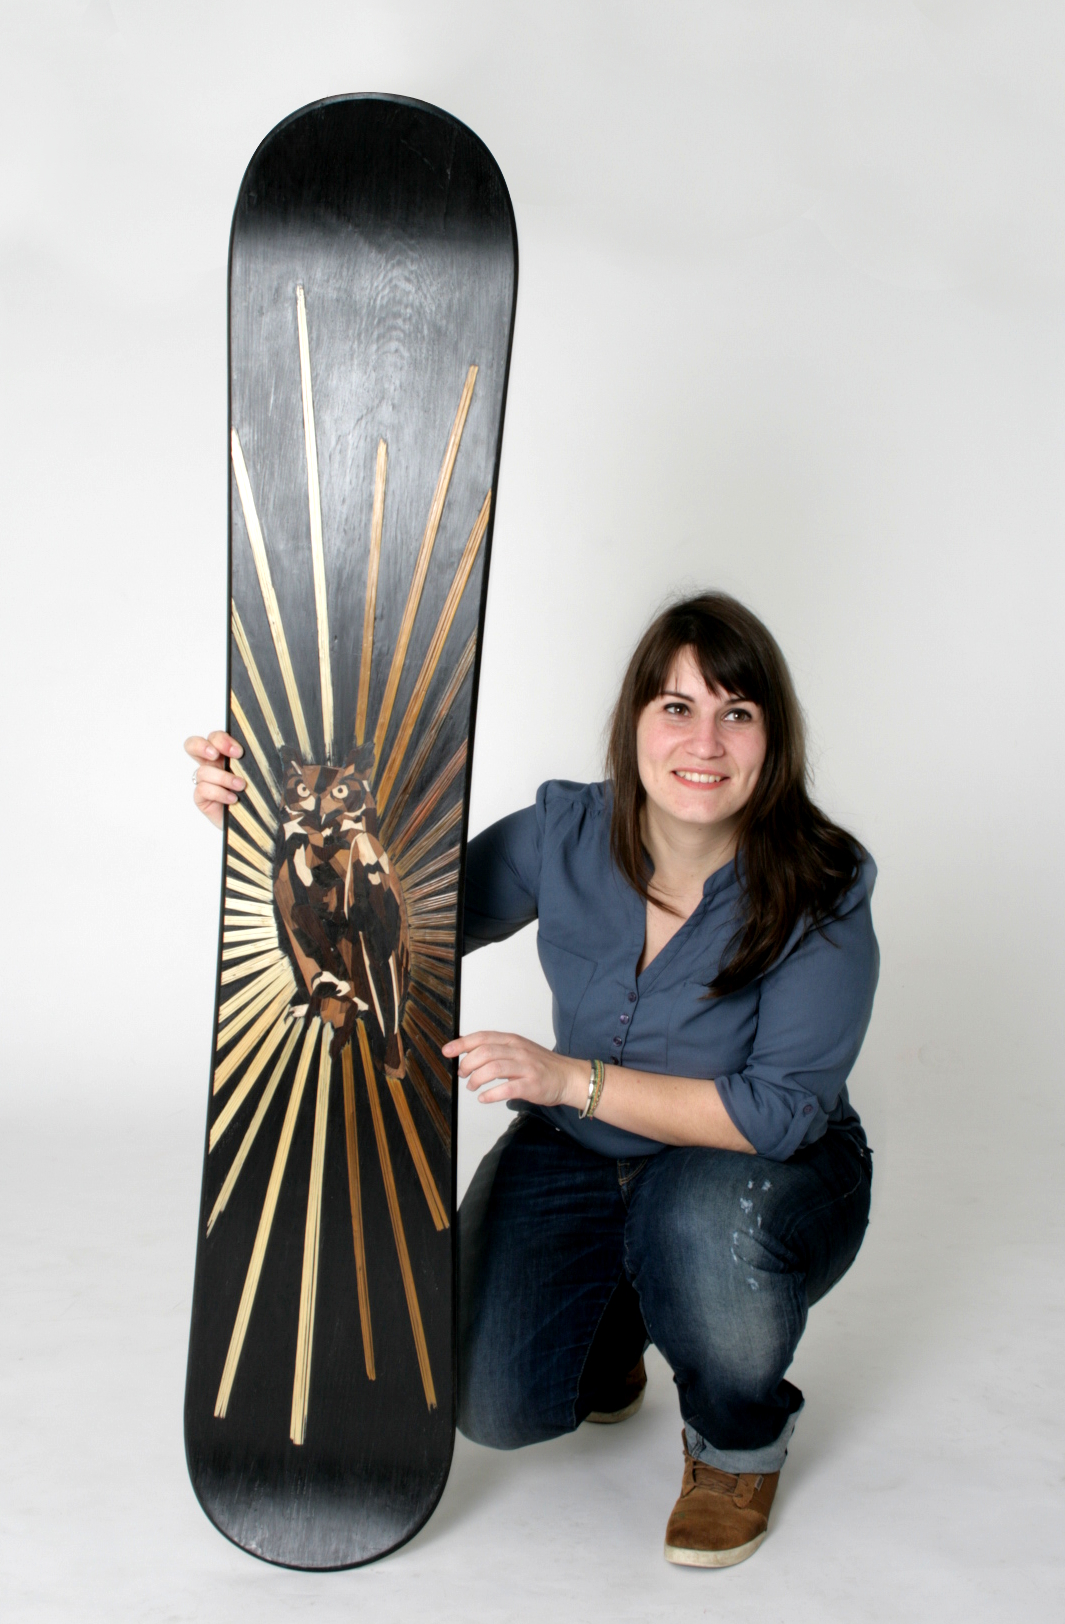
Cela fait déjà un petit moment que l’on connait et que l’on suit avec attention le travail d’Audrey. C’est donc fièrement que l’on vous propose de la découvrir à travers cet interview honnête et sans complexe :
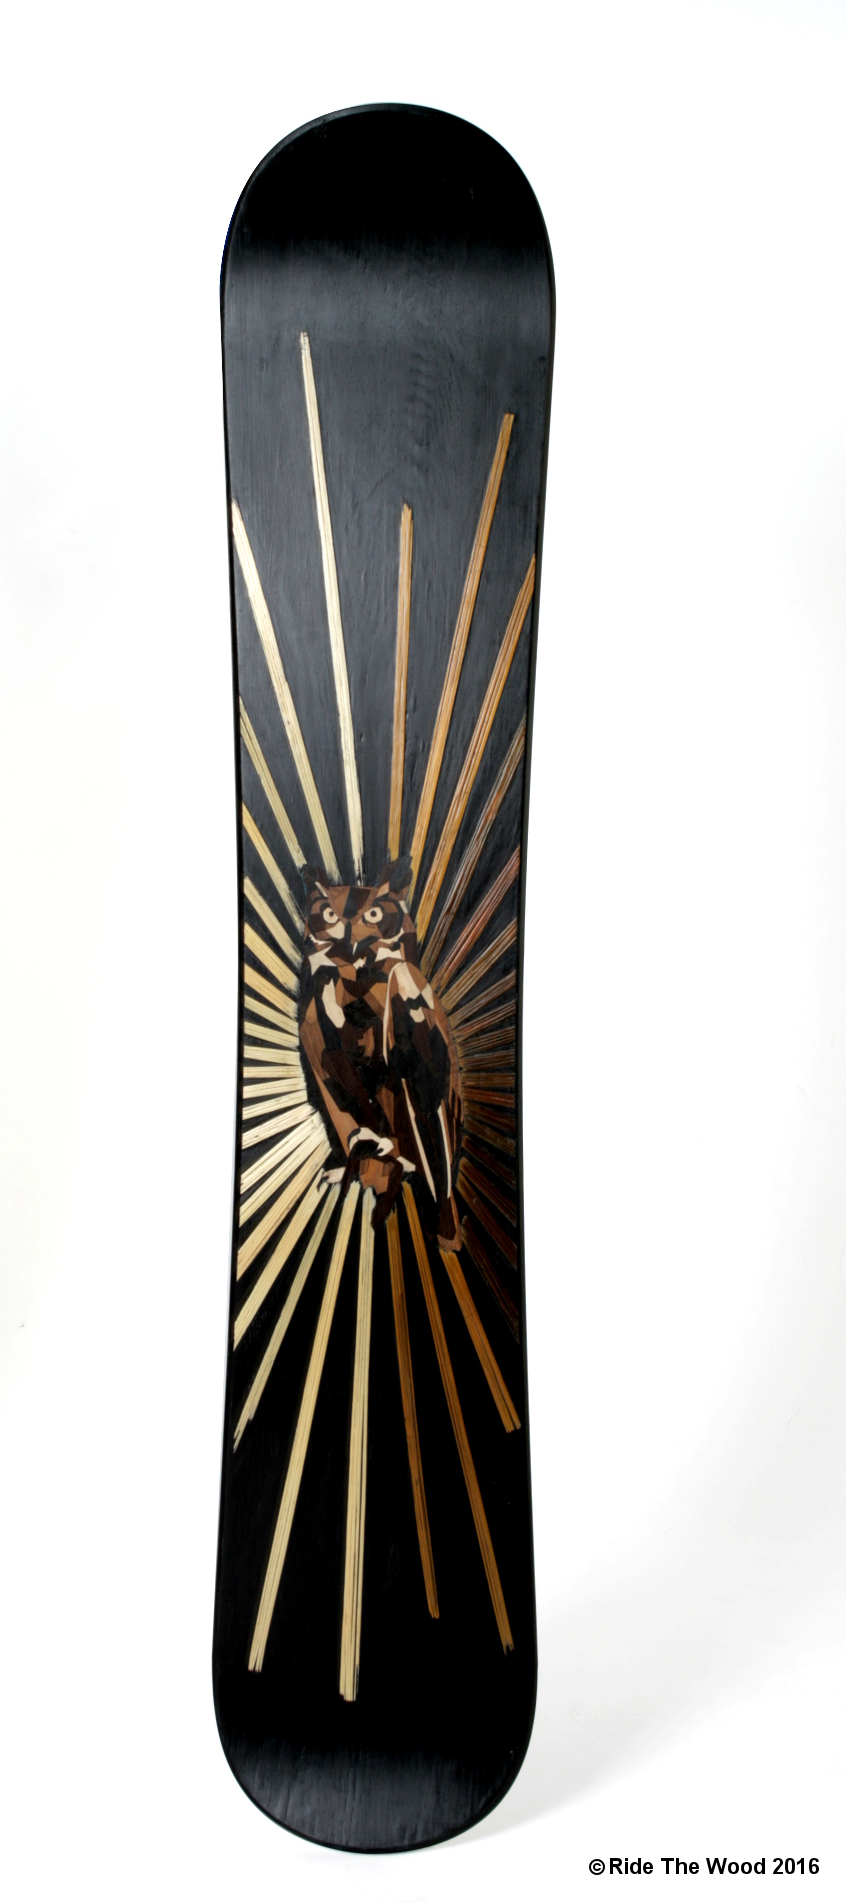
SnowBoard Marquetry Owl
1. Salut Audrey, peux tu te présenter ? Quel âge as tu (pas obligatoire bien sur ;)), d’où viens tu, ton boulot, ton parcours…
Salut! Et bien, j’ai 27 ans et je viens de Toulouse. Avec six ans de formations aux métiers du bois (CAPs et Diplôme des Métiers d’Art) entre le Lycée de l’Ameublement de Revel (31), le Lycée des Métiers d’Art d’Uzes (30) et un passage éclair à l’Ecole Boulle à Paris, j’ai travaillé quelques mois en finition chez un fabricant d’intérieurs de jets privés puis chez un fabricants de skis. Après avoir déménagé de nombreuses fois, j’ai posé mes valises dans le bassin Valentinois il y a plus d’un an, ainsi, depuis le mois d’octobre 2015, j’exerce la marqueterie à mon compte, en parallèle d’un emploi d’animatrice pour enfants
Audrey FASQUELLE – RideTheWood
2. Qu’est ce qui t’as amené à travailler le bois ?
Depuis toute petite, je bricole. J’ai la chance d’avoir des parents qui savent faire beaucoup de choses par eux même et qui ont su partager leur savoir faire avec leurs enfants. Lorsque je passais mon bac, on m’a parlé de l’ébénisterie. Je suis donc allée me renseigner au lycée pro de Revel et ça a été un coup de cœur! Depuis ma formation, dès que j’ai l’opportunité de faire un atelier bois avec les enfants sur les centres de loisirs, je n’hésite pas, espérant réveiller une vocation chez quelques uns d’entre eux.
3. Tu as fait le choix d’utiliser notre matériel à savoir, la Thin Air Press. Pourquoi ce choix ?
C’est après avoir cherché «fabricants de skate» sur Internet que je suis tombée sur le site Roarockit. En fouinant sur la page Web, j’ai trouvé les presses sous vide, j’ai alors pris la décision d’acheter le grand modèle, qui s’adapte très bien pour mes snowboards. Le prix est attrayant aussi. Un coup d’aspirateur, la pompe manuelle, et le tour est joué! Je ne regrette pas du tout cet investissement.
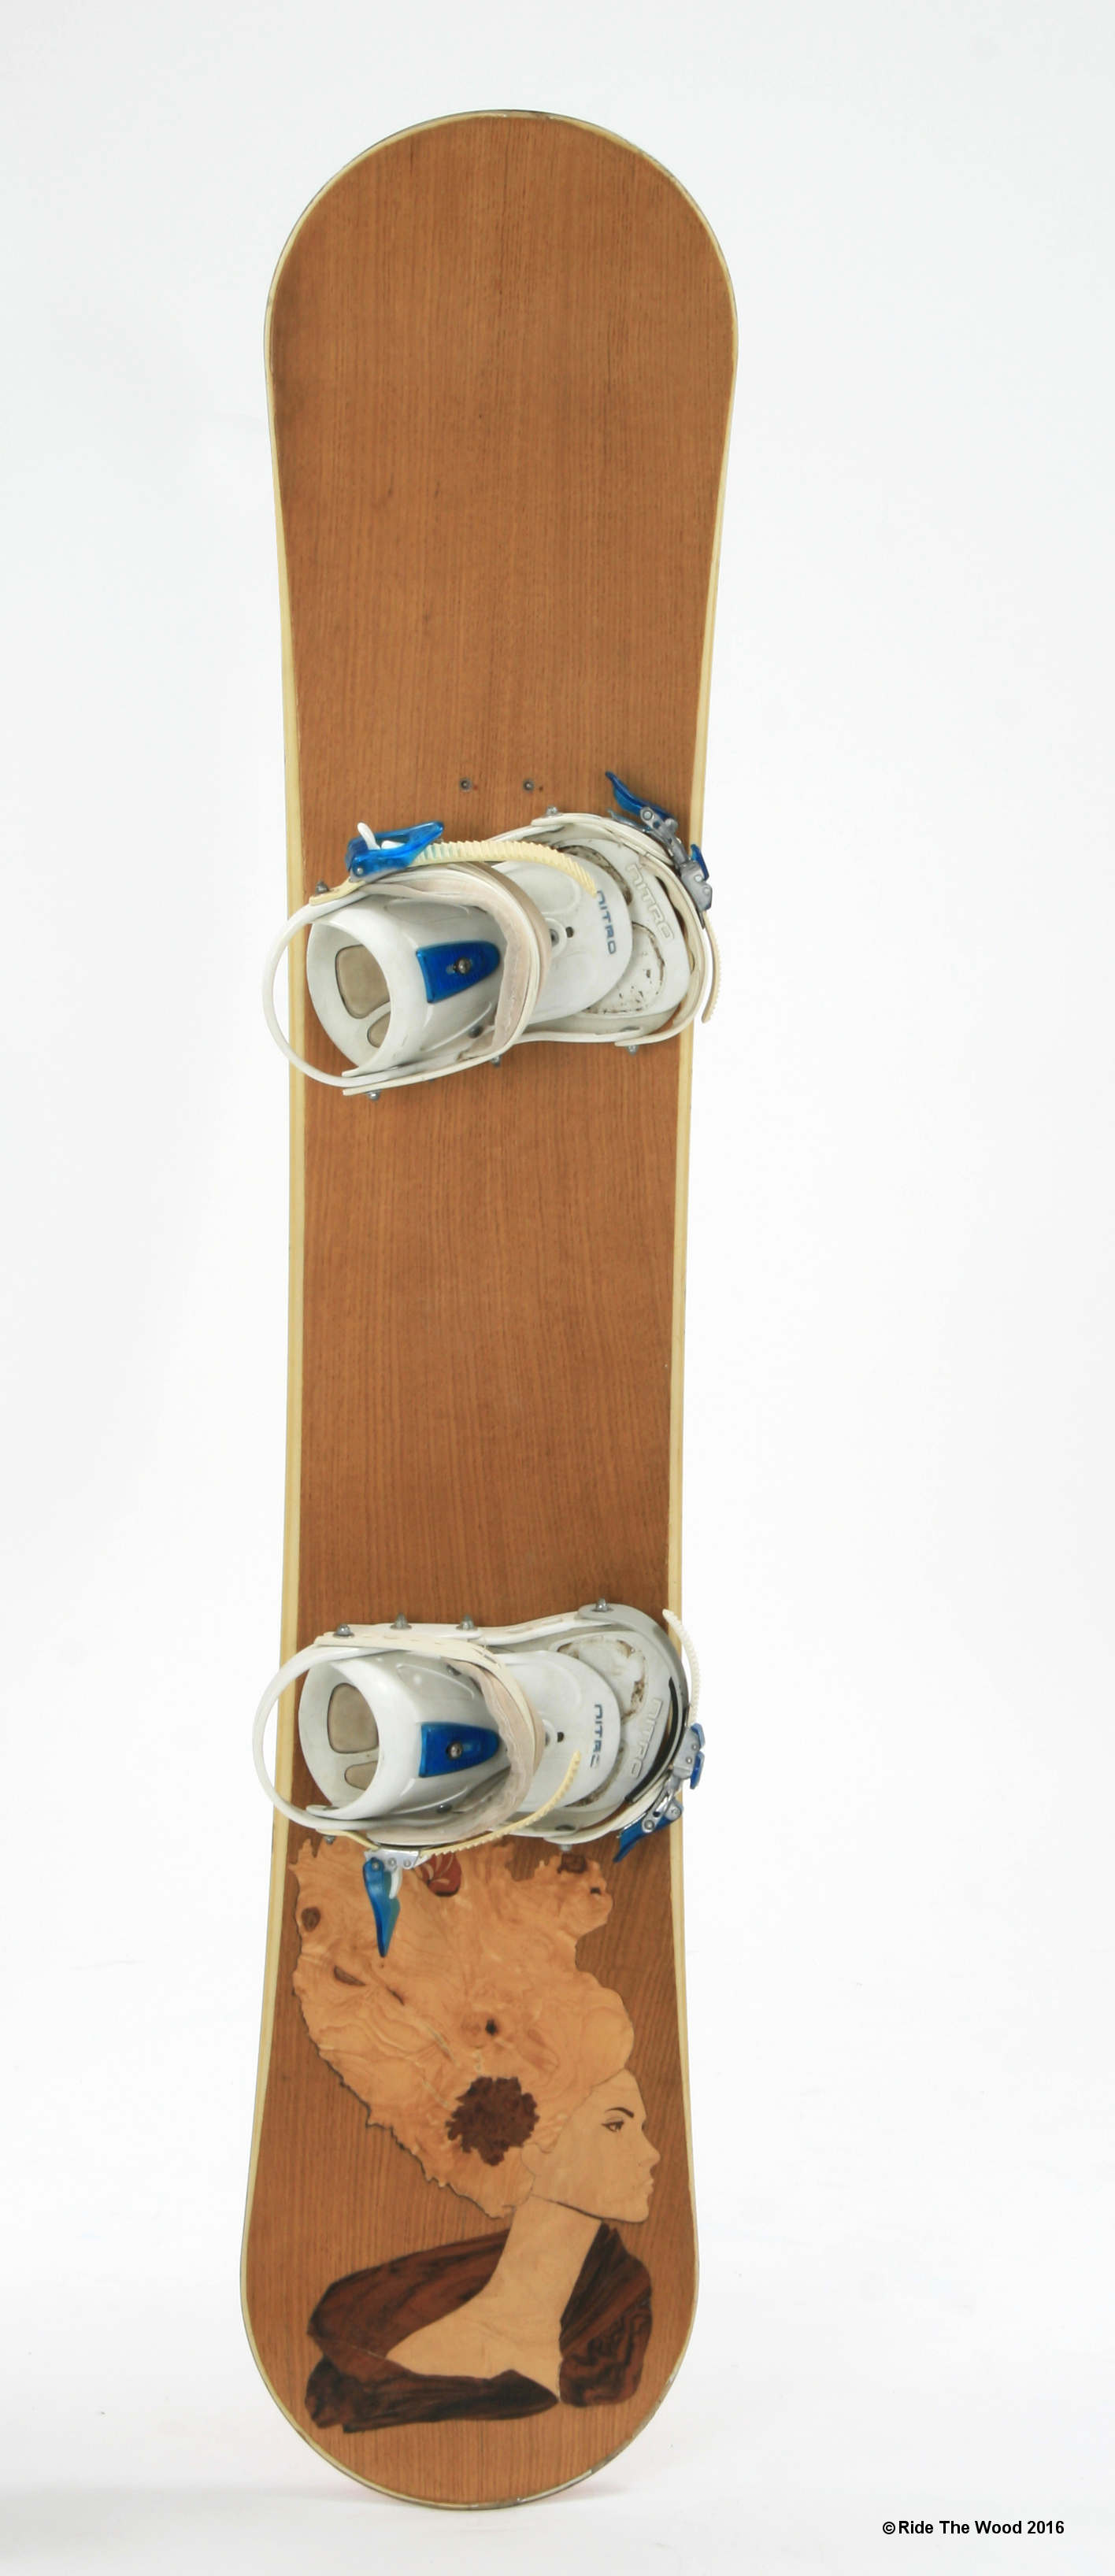
SnowBoard Marquetry Who Board
4. On a vu que tu avais créé RideTheWood. Racontes nous cette histoire ? Le début, les galères, les joies…
J’ai commencé à penser à Ride The Wood courant 2014. Lorsqu’on passe un Diplôme des Métiers d’Art, on nous apprend à sortir des sentiers battus, à innover. J’ai fait le rapprochement entre ma formation et une passion, et j’ai fait un test sur un snow (Who Board). Les retours positifs m’ont poussée à persévérer. Tout en continuant les prototypes pour les snow, j’en ai profité pour essayer des supports éclectiques (guitares, skates, radio vintage… Etc) Ride The Wood, ce n’est pas que du snow, c’est aussi d’autres supports tout aussi funs. Les joies que j’éprouve? Découvrir le produit fini après toutes les étapes de réalisation. Les galères, se soucier de trouver les bonnes techniques innovantes et bien sûr la partie administrative.
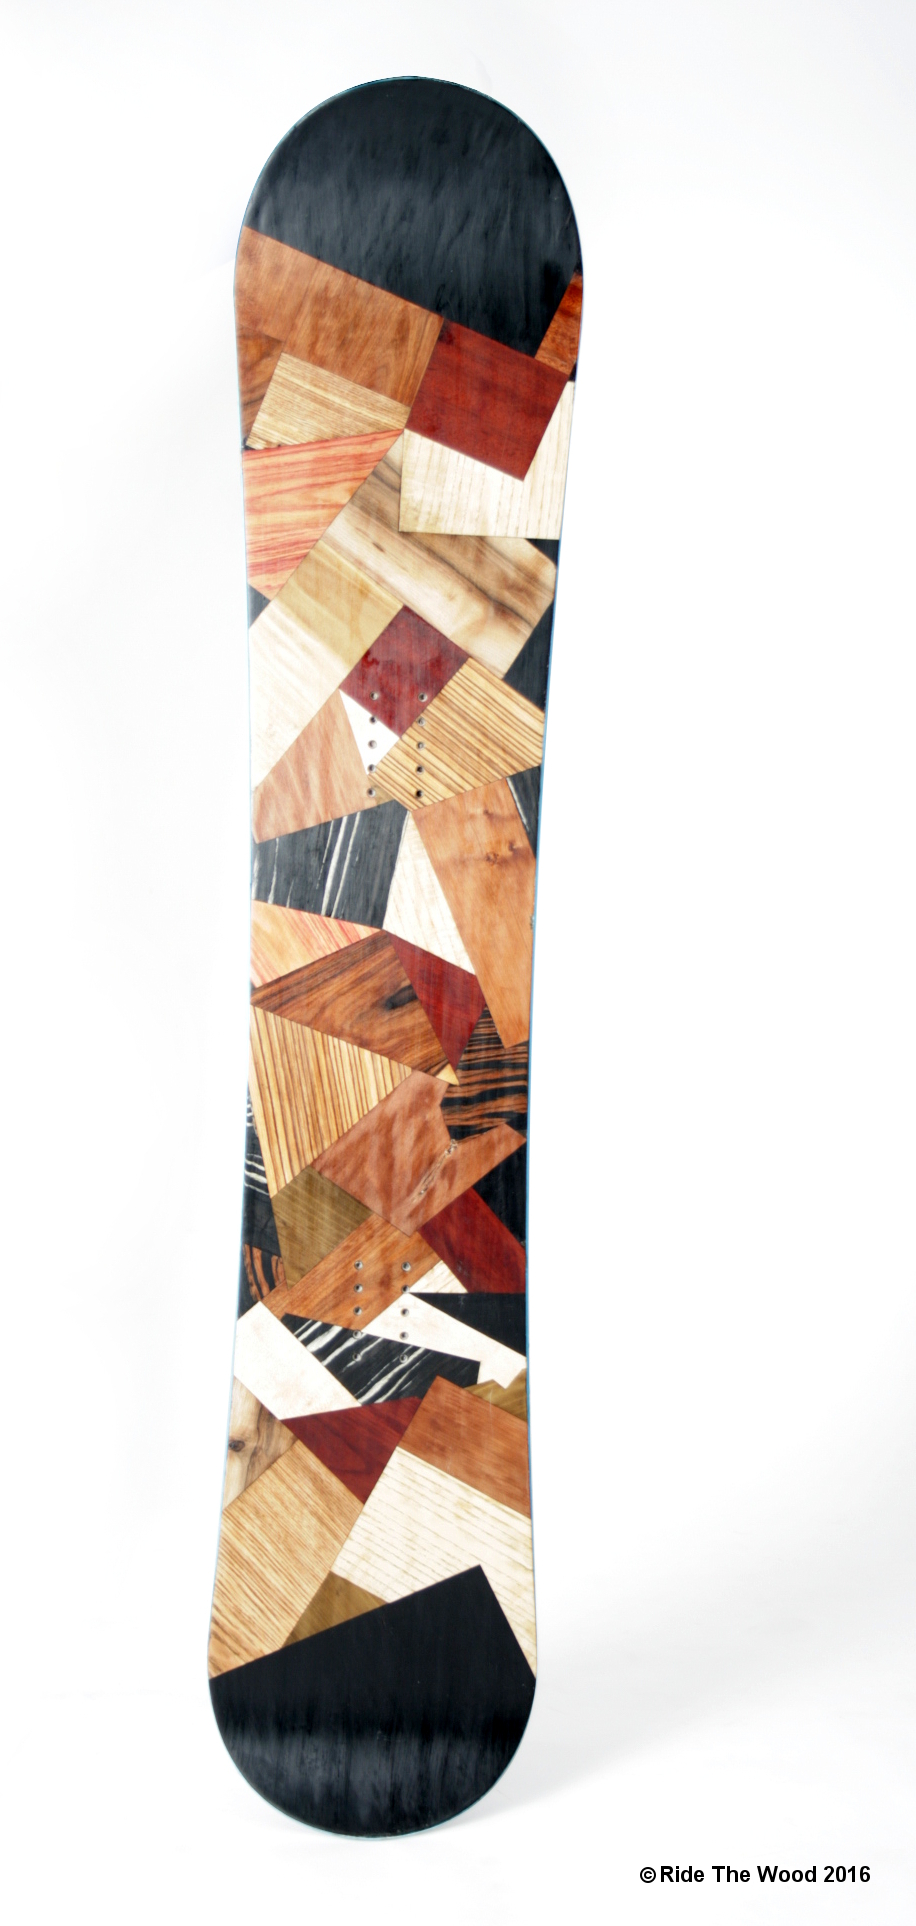
SnowBoard Marquetry Wood Multi Essence.
5. Quand on regarde ton travail sur les snowboards, on devine que tu as passé un temps fou à leur conception. Peux-tu nous expliquer le travail que tu as fait?
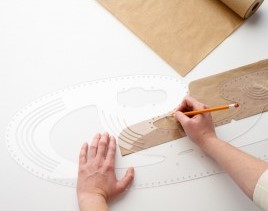
Il y a d’abord la recherche de motifs. Sur les dernières planches, j’ai eu la chance d’avoir les dessins du graphiste GunndBoy. Il faut faire ce que l’on appelle un calque, qui servira à faire la mise en couleur, la légende, les ombrages si nécessaire… ensuite, découper chaque pièce sur papier pour les coller sur les feuilles de bois, puis de nouveau, découper les placages. En fonction du nombre de pièces, la découpe et l’assemblage peuvent prendre plus ou moins de temps (Pour le hibou, il y a pas loin de 150 pièces et une quinzaine d’heures de travail). Je déplaque ensuite le snow que je souhaite personnaliser et j’y colle la marqueterie avec la presse sous vide. Reste la finition qui prend pas mal de temps.
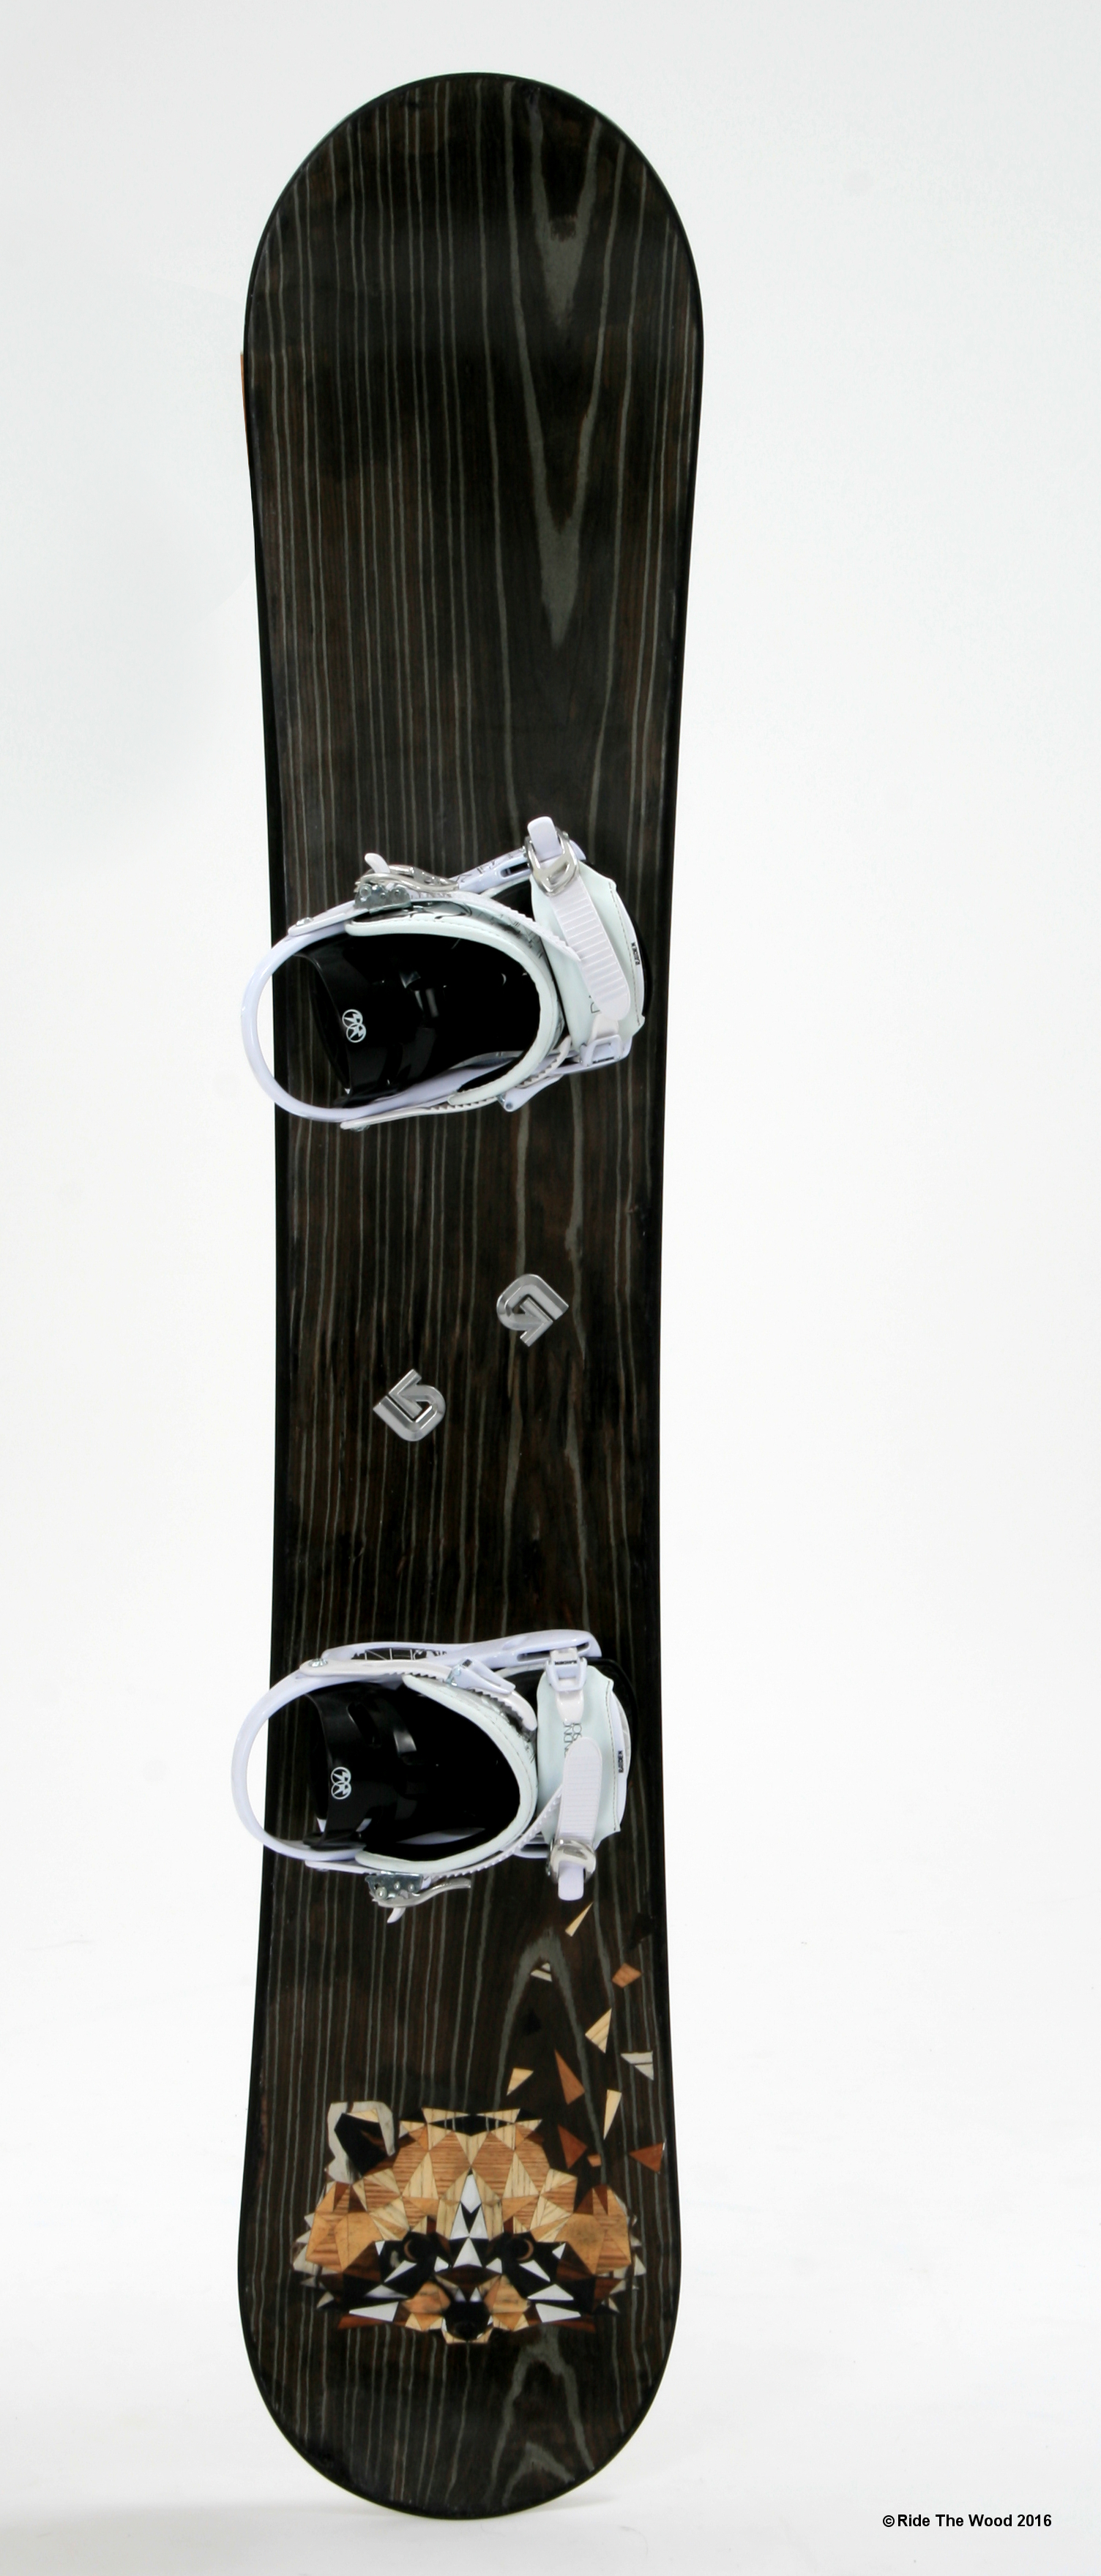
SnowBoard Marquetry Racoon
6. Comment vois-tu l’avenir de RideTheWood ? Des nouveaux modèles, quelques projets?
Je souhaite pouvoir travailler avec des artisans de la glisse, tout comme avec des particuliers. Je voudrais aussi développer les différents styles de graphisme, et enfin, tester de nouveaux matériaux, ou confirmer l’utilisation de la paille sur snowboard qui n’a encore jamais été utilisée d’après mes recherches.
7. Le mot de la fin. Des remerciements ou des dédicaces ?
Je pense que oui, il y a pas mal de monde que je dois remercier, ma famille tout d’abord, qui m’a permis de découvrir l’artisanat du bois et mes professeurs qui me soutiennent toujours après toutes ces années. Je tiens aussi à remercier toutes les personnes qui me donnent une chance de faire ma place sur des événements et de faire connaître mon travail et enfin, l’atelier Phénix, mon premier partenariat fabricant/marqueteur.
On vous invite à jeter un coup d’œil, sur sa page facebook : RideTheWood